Building a Payments UI in Flask
Payments
In this chapter, we'll build the ability to purchase products. In the process, we'll see how to build our own Flask extension, integrate checkout with Stripe, and make some improvements to the Yumroad UI.
UI Improvements.
Earlier in the migrations section of this book, we had added two fields to the Product table to store a picture URL and the price of the product. The Yumroad UI currently does not collect or use this information, but we'll want to have both to implement a functional product page and checkout.
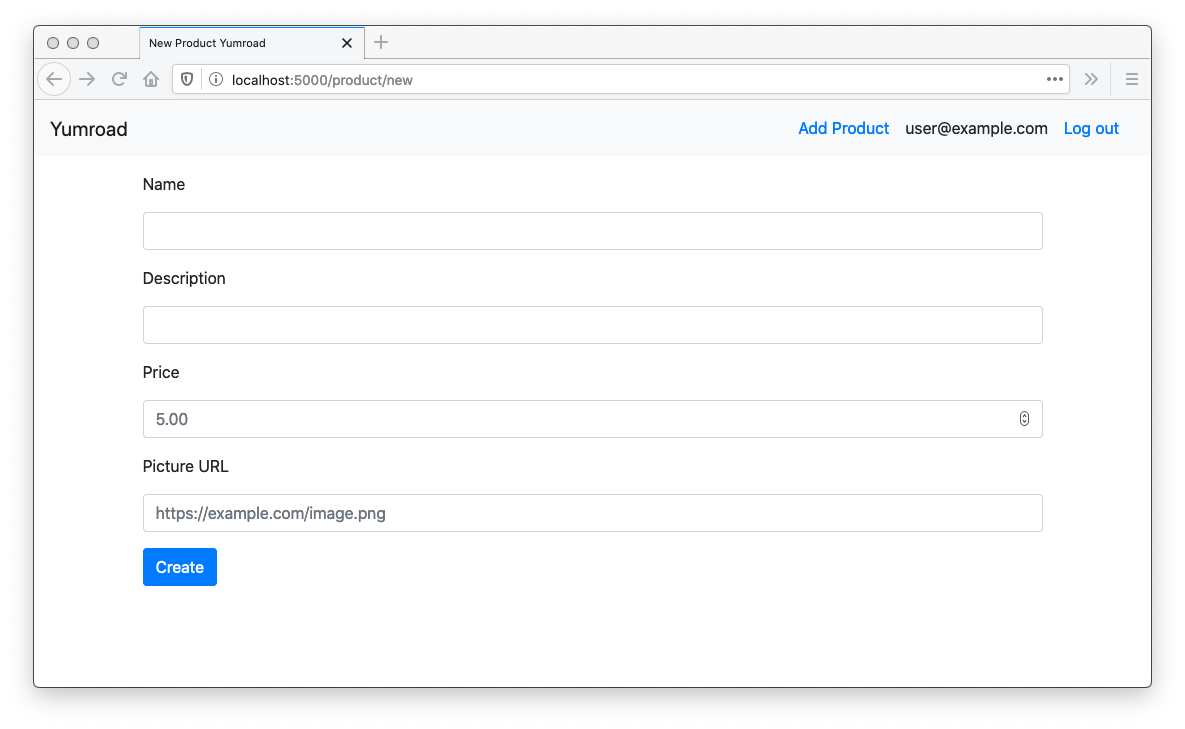
First, we'll add the two fields to the form.
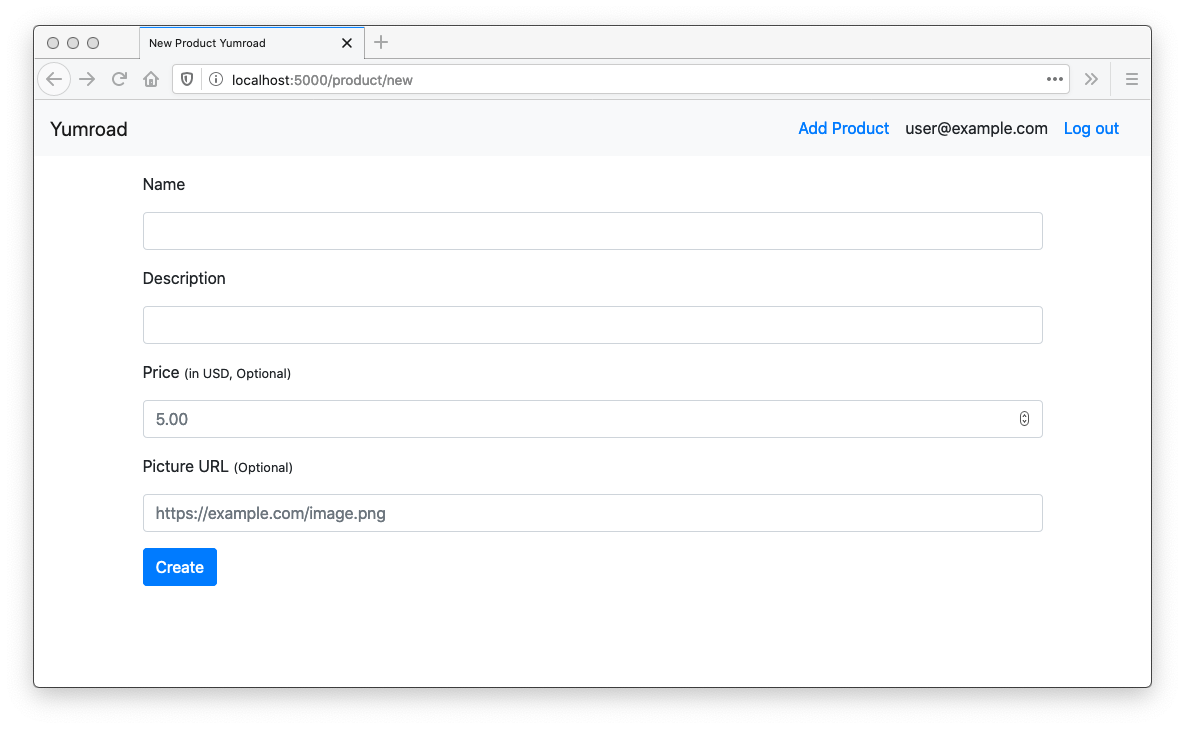
In forms.py, add the two fields. For the price, we'll want to use the HTML5 form field for DecimalField so that WTForms renders an HTML input field with type=number. We haven't specified that these fields are required, so we should note that they are optional. The description parameter of a Field is something we can use when we render the frontend form.
from wtforms.fields.html5 import DecimalField

class ProductForm(FlaskForm):
    name = StringField('Name', [validators.Length(min=4, max=60)])
    description = StringField('Description')
    picture_url = StringField('Picture URL', description='Optional', validators=[validators.URL()])
    price = DecimalField('Price', description='in USD, Optional')
Then in our template for a new product (templates/products/new.html), we can add the two fields with additional placeholder values.
    <form method="POST" action="{{ url_for('product.create') }}">
      {{ form.csrf_token }}

      {{ render_field(form.name) }}
      {{ render_field(form.description) }}
      {{ render_field(form.price, placeholder="5.00") }}
      {{ render_field(form.picture_url, placeholder="https://example.com/image.png") }}
      <button type="submit" class="btn btn-primary">Create</button>
    </form>

In order to display the description, we'll want to add a small section to display the field's description in the render_field macro in templates/_formhelpers.html
    <div class="form-group {% if field.errors %} has-error{% endif -%} {%- if field.flags.required %} required{% endif -%}">
        <label for="{{ field.name }}">{{ field.label }}</label>
        {% if field.description %}
            <small classname="text-muted" for="{{ field.name }}">({{ field.description }})</small>
        {% endif %}
        {{ field(class_=' '.join(['form-control', 'is-invalid' if field.errors else '']), **kwargs)|safe }}
        <ul class="invalid-feedback errors">
            {% for error in field.errors %}
                <li>{{ error }}</li>
            {% endfor %}
        </ul>
    </div>

Once those fields have been added, we will also need to use the data in our route that handles the form submission. In yumroad/blueprints/products.py, add the two fields to our initialization of a new Product. Since we want to store the cents and not the decimal value, we'll multiply by 100.
@product_bp.route('/product/new', methods=['GET', 'POST'])
@login_required
def create():
    form = ProductForm()
    if form.validate_on_submit():
        product = Product(name=form.name.data,
                        description=form.description.data,
                        price_cents=int(form.price.data*100),
                        picture_url=form.picture_url.data,
                        creator=current_user,
                        store=current_user.store)
        db.session.add(product)
        db.session.commit()
        return redirect(url_for('product.details', product_id=product.id))
    return render_template('products/new.html', form=form)
Now that we can collect information about the product image and price, we should use that information in a few places. Currently our product page, looks a little plain.