
This post is part of the series 30 Days of Vue.
In this series, we're starting from the very basics and walk through everything you need to know to get started with Vue. If you've ever wanted to learn Vue, this is the place to start!

This post is part of the series 30 Days of Vue.
In this series, we're starting from the very basics and walk through everything you need to know to get started with Vue. If you've ever wanted to learn Vue, this is the place to start!
Today, we'll discuss how props can help us pass data from parent components down to child components.
In yesterday’s article, we created our first component (named tweet-component) as part of a mock twitter application. We went as far as having a list of these tweet-component‘s be rendered with only static information.
Our aim today is to have each tweet-component render unique tweet data from the tweets data array kept in the root instance. We’ll achieve this with the help of props.
Vue gives us the ability to use props to pass data from parent instances down to child instances.

Using props is fairly simple. The first step involves binding the data that is to be passed to the prop attribute where the child component is being rendered.
In our mock twitter application, we’re interested in passing a single tweet object to every tweet-component that is rendered. Since the tweet components are rendered with the help of the v-for directive, we can pass the iterated tweet object as props down to each component.
    <div id="app">
      <tweet-component v-for="tweet in tweets"
        :key="tweet.id"
        :tweet="tweet">
      </tweet-component>
    </div>
We’re using the v-bind directive to bind the iterated tweet data object to a prop of the same name.
For tweet-component to use the prop provided to it, it needs to explicitly declare the props it receives with the props option. We’ll introduce a props option in tweet-component and specify the tweet prop being passed in:
Vue.component('tweet-component', {
  template: `
    // ...
  `,
  props: ['tweet']
});
In tweet-component, the tweet prop can now be accessed and used like any other data property. We’ll bind information from the tweet prop on to the template of the component instead of statically rendering information.
Vue.component('tweet-component', {
  template: `
    <div class="tweet">
      <div class="box">
        <article class="media">
          <div class="media-left">
            <figure class="image is-64x64">
              <img :src="tweet.img">
            </figure>
          </div>
          <div class="media-content">
            <div class="content">
              <p>
                <strong>{{tweet.name}}</strong>
                <small>{{tweet.handle}}</small>
                <br>
                {{tweet.tweet}}
              </p>
            </div>
            <div class="level-left">
              <a class="level-item">
                <span class="icon is-small">
                  <i class="fas fa-heart"></i>
                </span>
                <span class="likes">
                  {{tweet.likes}}
                </span>
              </a>
            </div>
          </div>
        </article>
      </div>
      <div class="control has-icons-left">
        <input class="input is-small"
          placeholder="Tweet your reply..." />
        <span class="icon is-small is-left">
          <i class="fas fa-envelope"></i>
        </span>
      </div>
    </div>
  `,
  props: ['tweet']
});
Our application will now display information from all the different tweets in our instance data.
Vue also allows us to define requirements for props that get passed into a component. Earlier, we declared the tweet prop in tweet-component in this format:
Vue.component('tweet-component', {
  template: `
    // ...
  `,
  props: ['tweet']
});
To define prop validation requirements, we can instead provide an object that has validation requirements to the props option.
Vue.component('tweet-component', {
  template: `
    // ...
  `,
  props: {
    tweet: {
      type: Object,
      required: true
    }
  }
});
If we've stated validation requirements like the above and find ourselves not passing the tweet prop or having the tweet prop be of a type that is not Object, the Vue console will emit warnings. The Vue documentation has more examples on how we’re able to define default and custom validation requirements as well.
Since every component has its own isolated scope, child components can never (and should never) reference data directly from parent components. For a child component to access data from a parent, data has to flow from the parent down to the child with the help of props. This design greatly simplifies the understanding of an applications data flow since child components will never be able to mutate parent state directly.
Props can also be passed down multiple levels deep. For our mock twitter application, assume we wanted tweet-component to be a parent of another component labelled tweet-content.
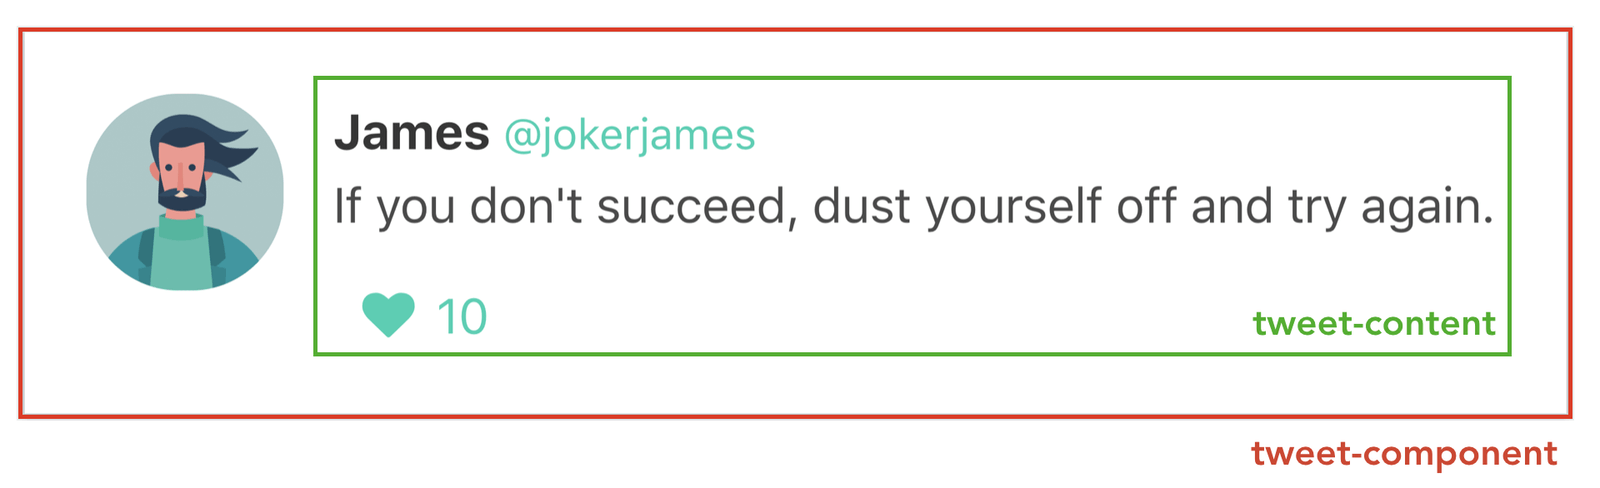
We can use the Vue.component() constructor to create the tweet-content component as we’ve done before. We’ll also declare a tweet prop in the props property of tweet-content and bind the prop’s information to its template. We'll create this tweet-content component right above the creation of tweet-component.
Vue.component('tweet-content', {
  template: `
    <div class="media-content">
      <div class="content">
        <p>
          <strong>{{tweet.name}}</strong>
          <small>{{tweet.handle}}</small>
          <br>
          {{tweet.tweet}}
        </p>
      </div>
      <div class="level-left">
        <a class="level-item">
          <span class="icon is-small">
            <i class="fas fa-heart"></i>
          </span>
          <span class="likes">{{tweet.likes}}</span>
        </a>
      </div>
    </div>
  `,
  props: ['tweet']
});
tweet-component will now be able to render the tweet-content component and pass in the tweet data object as props:
Vue.component('tweet-component', {
  template: `
    <div class="tweet">
      <div class="box">
        <article class="media">
          <div class="media-left">
            <figure class="image is-64x64">
              <img :src="tweet.img">
            </figure>
          </div>
          <tweet-content :tweet="tweet"></tweet-content>
        </article>
      </div>
      <div class="control has-icons-left">
        <input class="input is-small"
          placeholder="Tweet your reply..." />
        <span class="icon is-small is-left">
          <i class="fas fa-envelope"></i>
        </span>
      </div>
    </div>
  `,
  props: ['tweet']
});
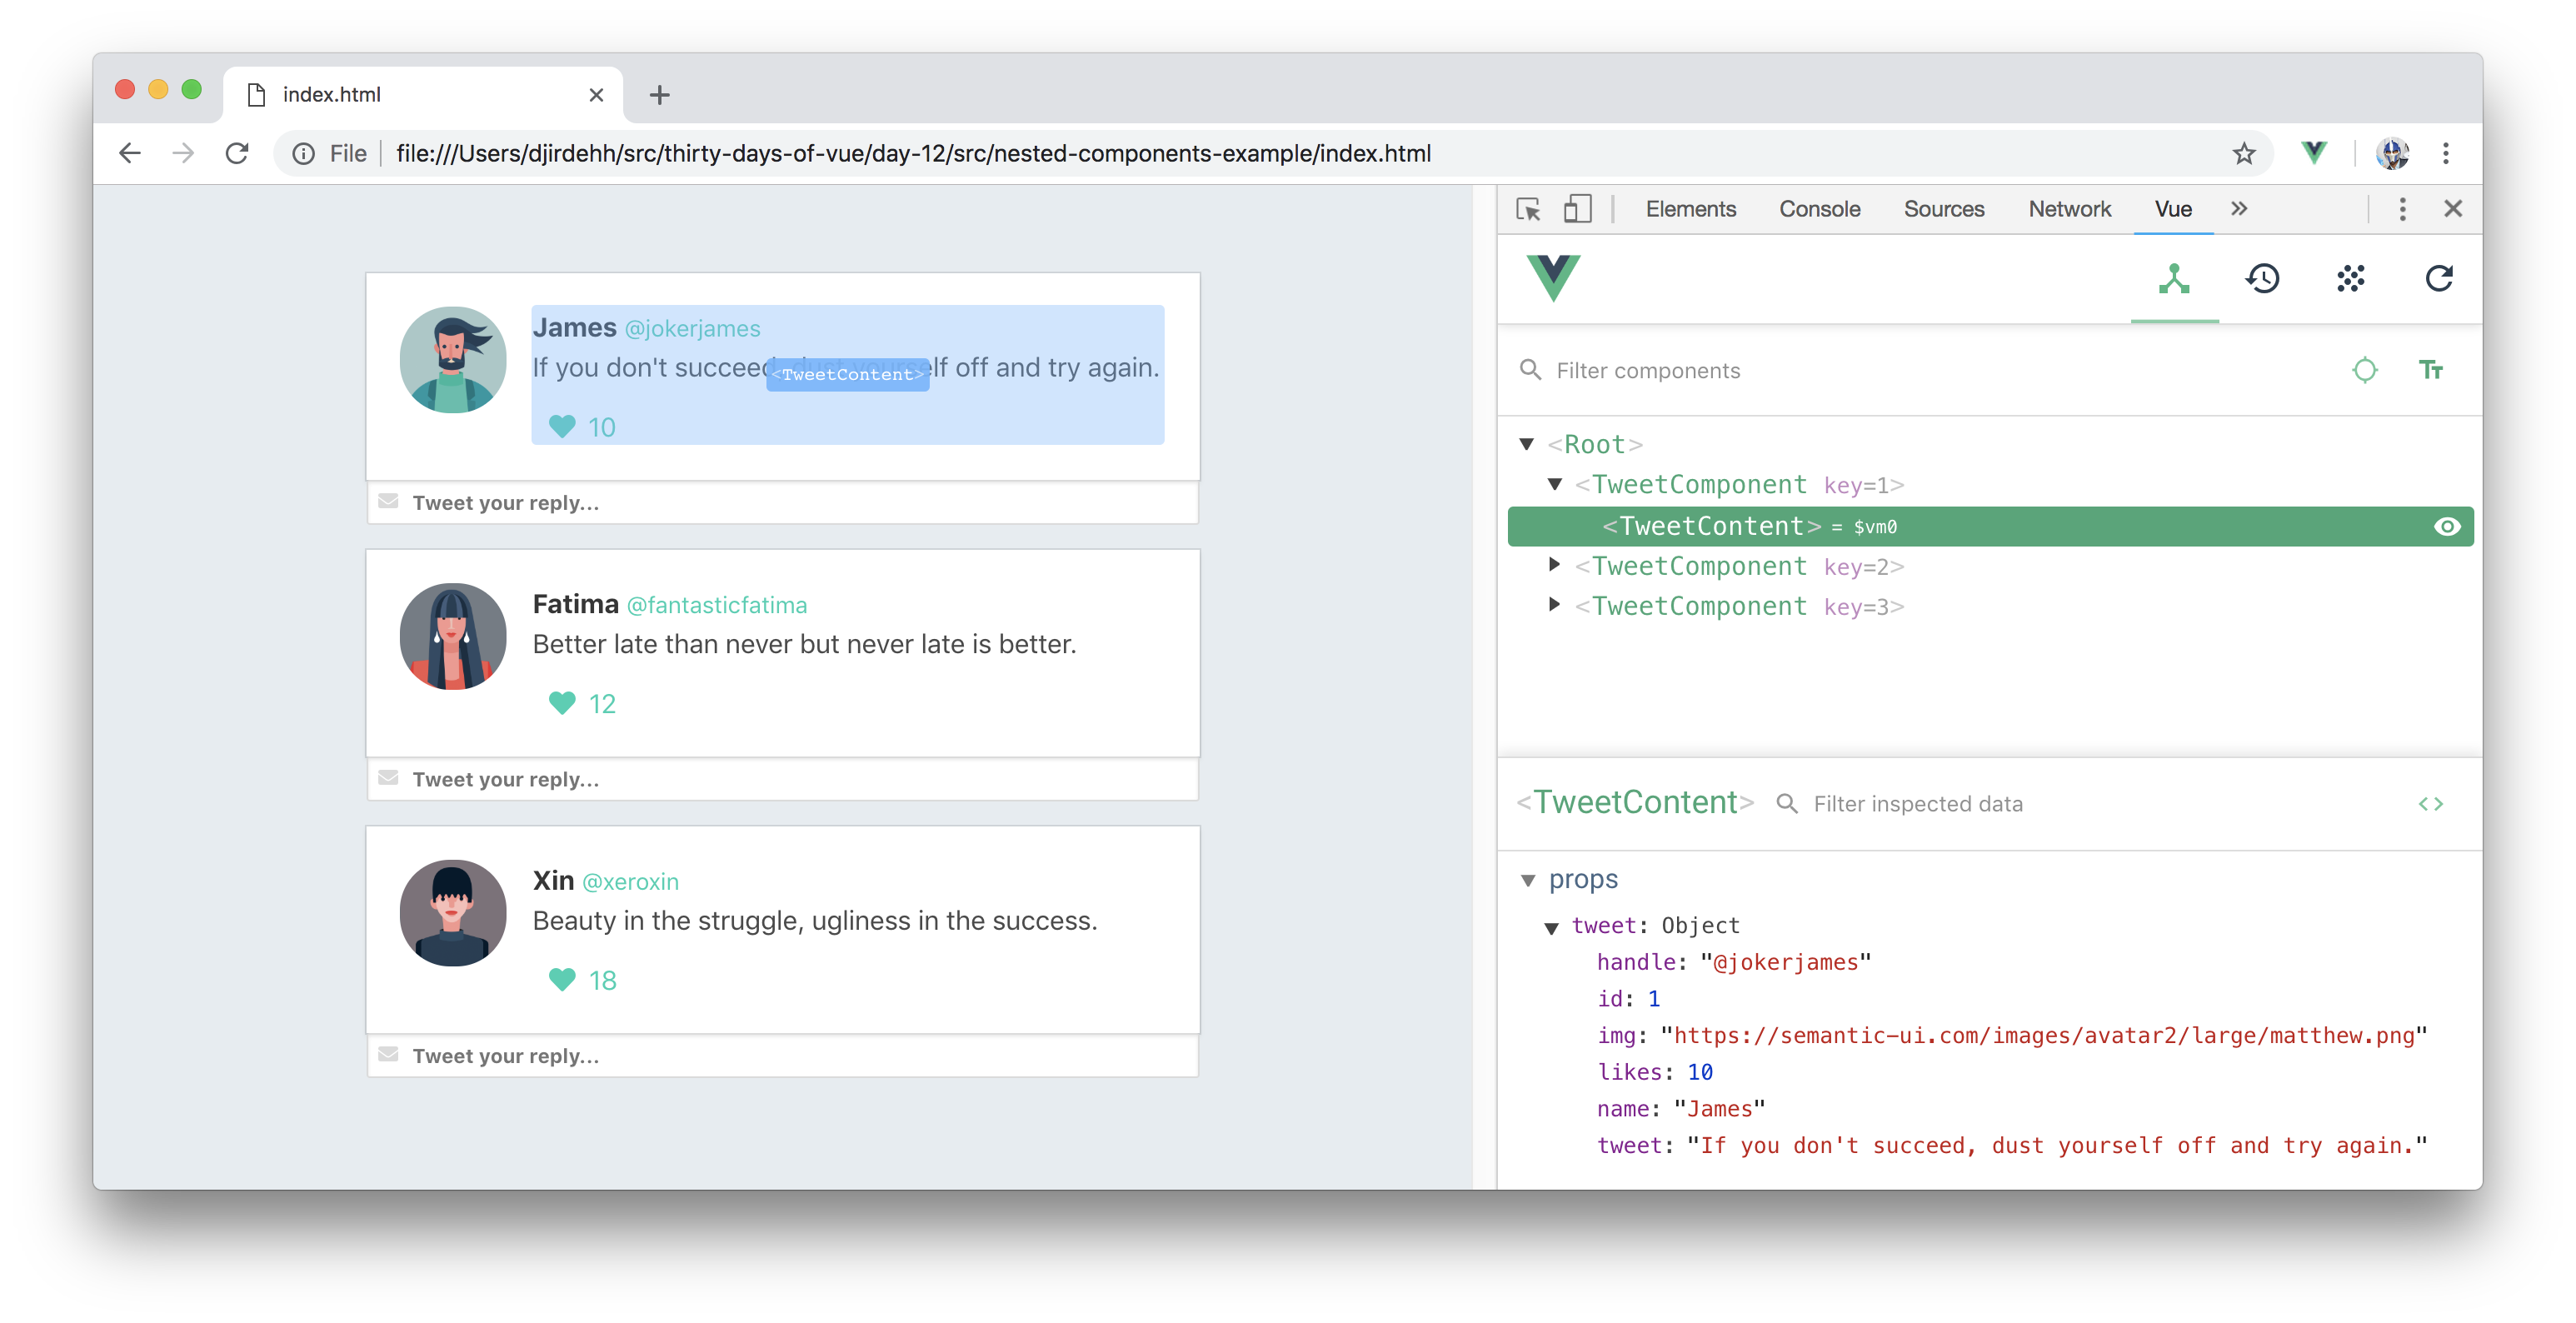
Our application UI will remain the same but now be composed of two nested components.
The Vue Devtools is incredibly useful in helping debug our application and inspect what data is being passed from one component to another. By launching the Vue Devtools, we’ll be able to see all the components in our application and the props available within each component.
It’s important to remember that props can only travel in a unidirectional format (parent to child to grandchild, etc.). If we wanted to communicate to a parent component (e.g. the root instance) about changes made in a child component (e.g. tweet-component), Vue provides something known as Custom Events to help facilitate this.
Good work so far! We’ll stop here for today and begin tomorrow by discussing Custom Events and how to use them!
The entire source code for this tutorial series can be found in the GitHub repo, which includes all the styles and code samples.
If at any point you feel stuck, have further questions, feel free to reach out to us by:
