

This post is part of the series 30 Days of Web Development.
In this series, we start from the basics and walk through everything you need to know to get started with Web Development.

GitHub is the single largest host for Git repositories. Git repositories, if you remember, are projects (e.g., folders, directories) that are managed by Git's version control.
This post is part of the series 30 Days of Web Development.
In this series, we start from the basics and walk through everything you need to know to get started with Web Development.
GitHub is the single largest host for Git repositories. Git repositories, if you remember, are projects (e.g., folders, directories) that are managed by Git's version control.
You created a Git repository in yesterday's blog post.
To help us understand how Git and GitHub work together, we're going to connect our Git repository ("git-practice") to our GitHub account.
Make sure you've done the exercise in yesterday's blog article. You should have a folder in your Downloads called "git-practice" that is now being watched by Git (you did this by running the git init command).
In your terminal, make sure you are on your Git repository called "git-practice."
You can confirm by using the "print-working-directory" command. Notice, I'm located in the "git-practice" folder.

To confirm that this looks correct, let's quickly check out out git global config file. To look at this file, run: git config --global --list
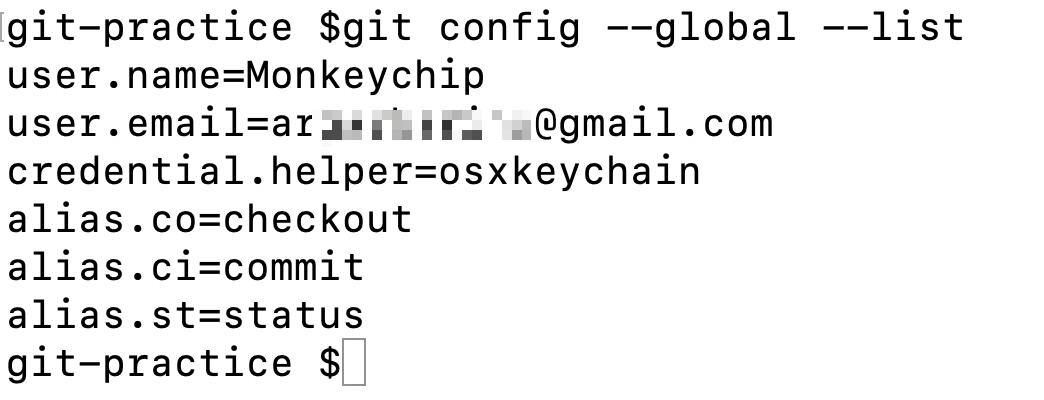
Once you enter this command, Git will list what's in your Git config file. You can see in my git global config file that I have my GitHub username Monkeychip and my email address (I have blurred this out).
What is important, is that your user.name and user.email match your GitHub account.
If your user.name and user.email do not match your GitHub account information follow these instructions for setting up your Git username, and here for your Git email.
On your GitHub account, navigate to the "Repository" tab, and click "New." Name the repository - you can name it whatever you'd like - and use the default settings.
Once created, GitHub helps you by providing the commands you'll need. We are going to use the commands under "or push existing repository from command line."
I have copy-pasted the commands GitHub provides below.
git remote add origin https://github.com/replace-with-your-username/replace-with-your-git-repo-name.git
git push -u origin master
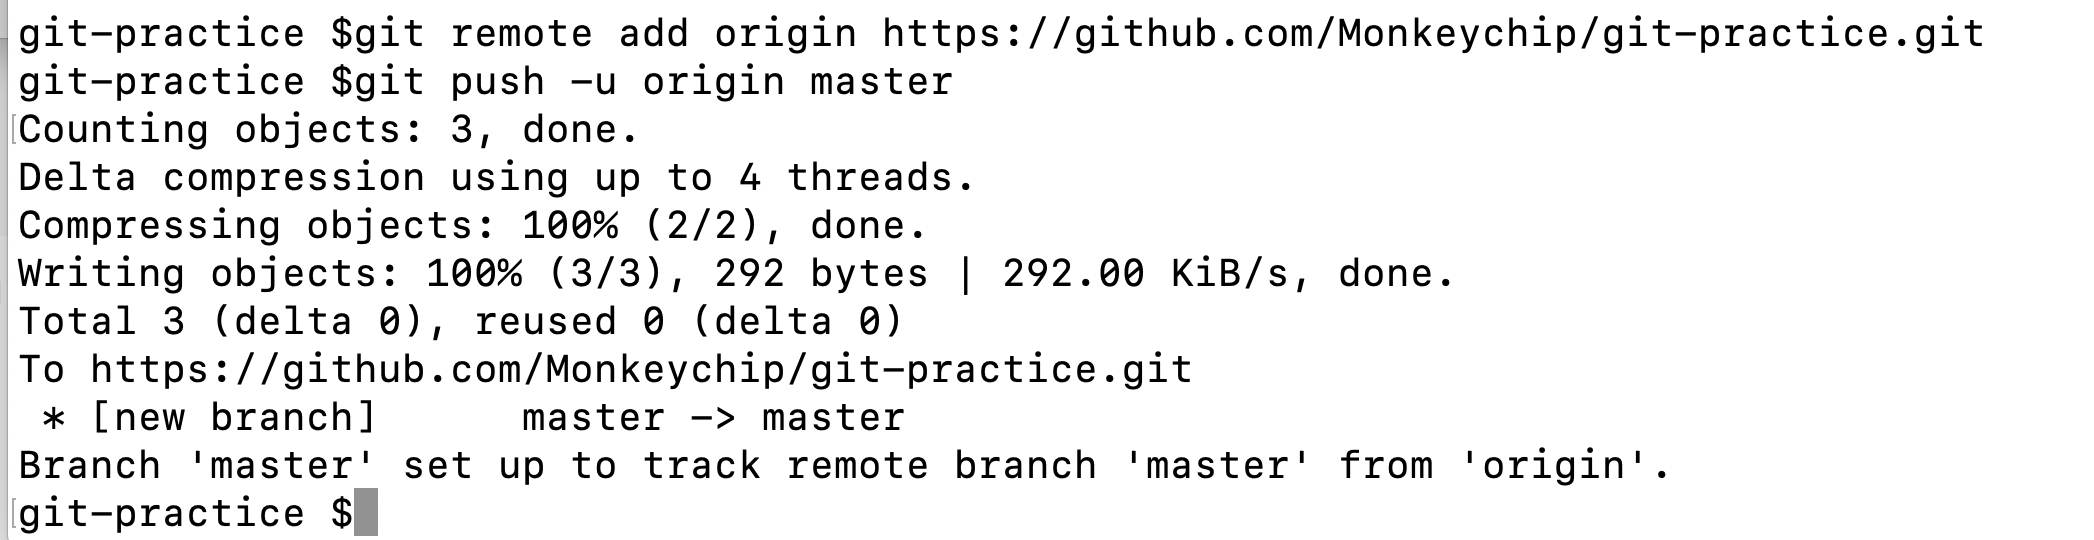
The first command connects your Git repository to the GitHub repository you just created. Without getting into too many details, which we don't have time for here, this commands adds a remote repository called "origin." Origin is pointing at the GitHub repository you just made (see the URL).
The second command "pushes" (a Git term to more or less indicate saving your project) to the "master" branch.
Branching is not something we have time to go into in this blog post, but it's helpful to think of branches as different versions of a project. Master is a branch that Git automatically creates. You can then make other branches if you'd like and call them something like "bug-fix" or "test-text-change." Branching is a topic you'll need to explore more.
This page is a preview of Your First 30 Days of Web Development
Get the rest of this chapter and 180+ pages of Web Development instruction for free.
The entire source code for this tutorial series can be found in the GitHub repo, which includes all the styles and code samples.
If at any point you feel stuck, have further questions, feel free to reach out to us by:

