
This post is part of the series 30 Days of Vue.
In this series, we're starting from the very basics and walk through everything you need to know to get started with Vue. If you've ever wanted to learn Vue, this is the place to start!

This post is part of the series 30 Days of Vue.
In this series, we're starting from the very basics and walk through everything you need to know to get started with Vue. If you've ever wanted to learn Vue, this is the place to start!
Today, we're going to discuss Vue's official development tool in helping build and scaffold Webpack bundled Vue applications rapidly.
Yesterday - we talked about single-file components, the advantages they provide, and how we’re only able to use them with build tools like Webpack. Today, we’ll talk about how we can rapidly scaffold a brand new Webpack bundled Vue application with the Vue CLI (i.e. the Vue Command Line interface).
The vue-cli is a tool built by the Vue core team to help facilitate the rapid building and developing of Vue applications. The Vue command line interface allows us to get started right away without having us worry about all the steps needed to set up the different build tools in a module based Vue app.
Before use, the @vue/cli package needs to be installed globally:
npm install -g @vue/cli
You'll need a working Node.js development environment along with an appropriate Package manager (e.g. npm as the example shown above or yarn).
Once the vue-cli is installed globally, a new Vue project can be created by running vue create within a certain directory and specifying the name of the project we'd want to create. For this article, we’ll create a project with the name of default_project.
vue create default_project
When the vue create command is run; we’re provided with a prompt allowing us to select a default preset or manually pick series of features that we might find useful when building our Vue app (like TypeScript, PWA support, etc.).
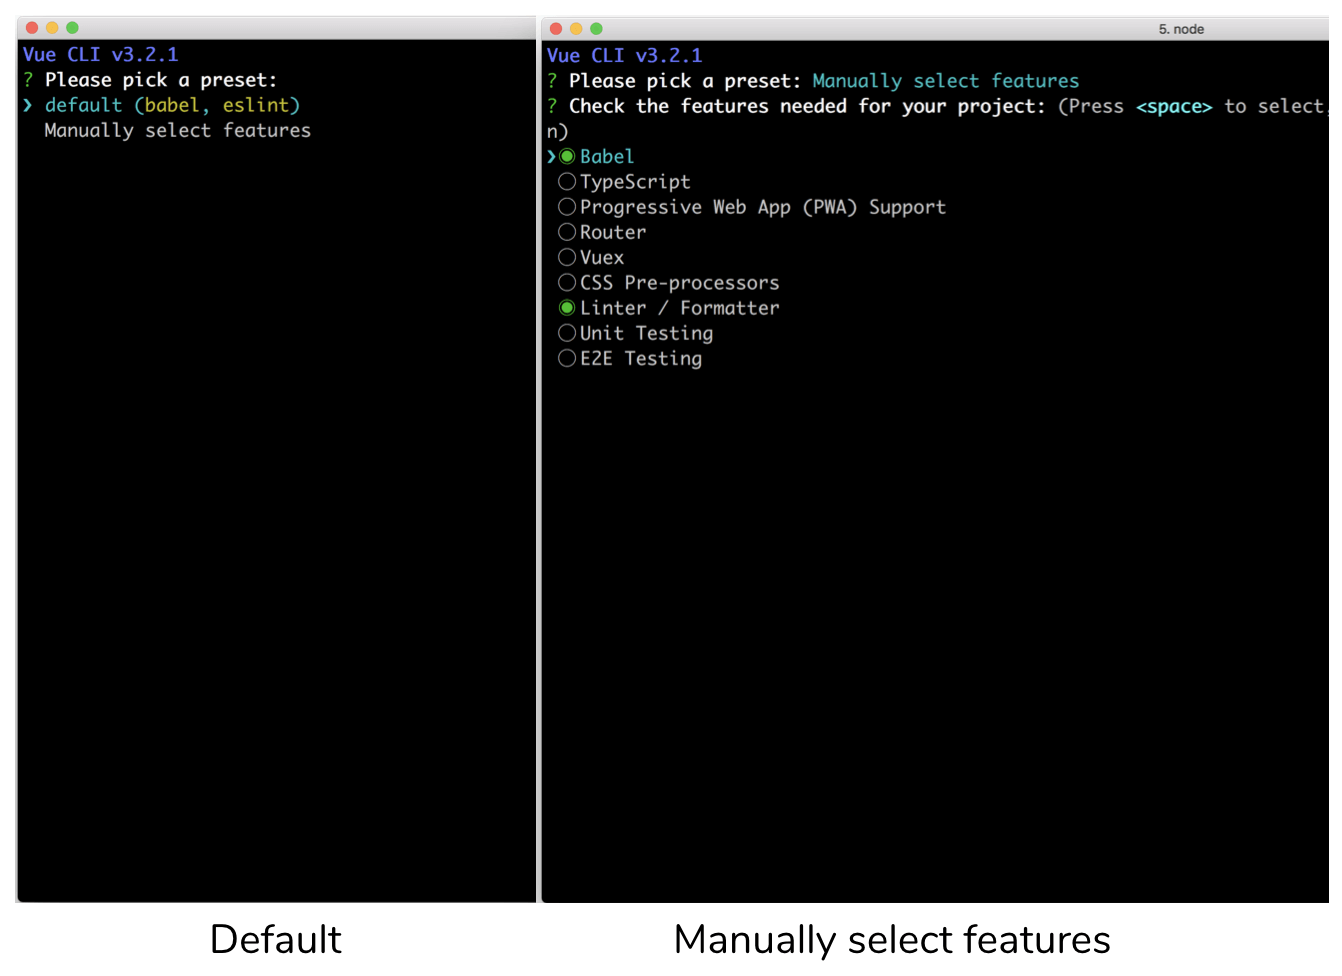
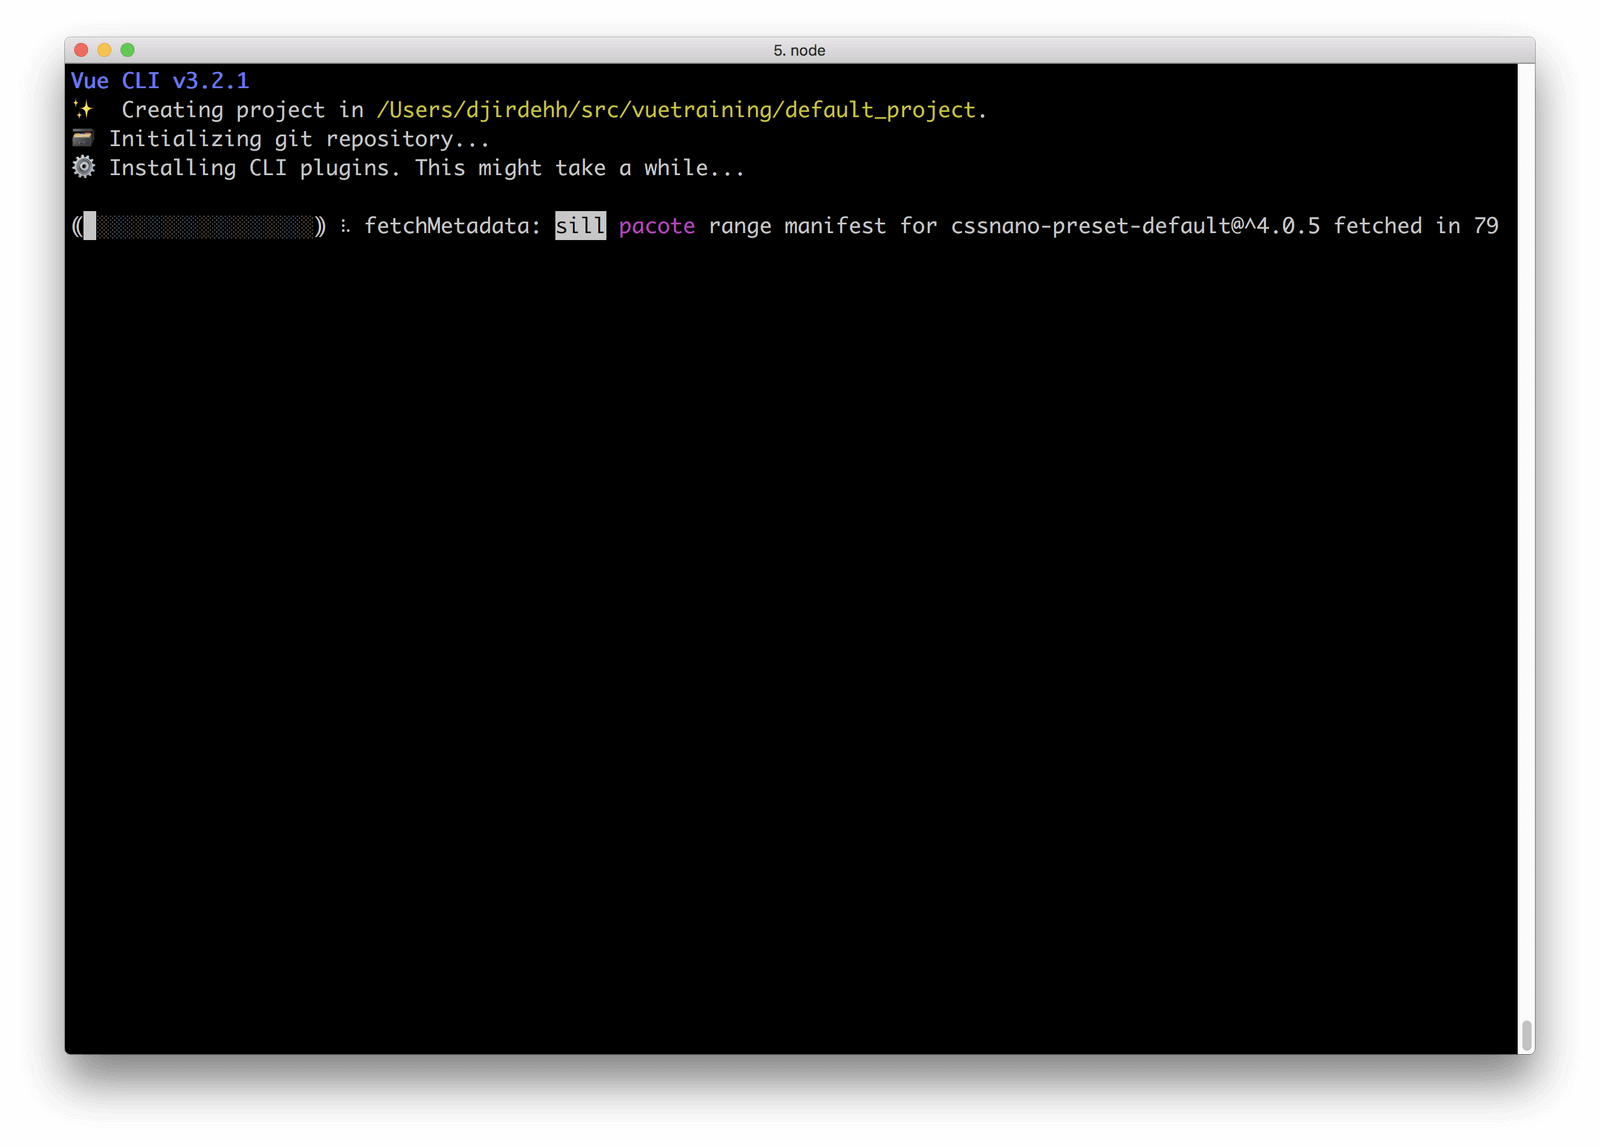
We’ll select the default preset for this article. Once the selection is made, the Vue CLI will then begin to install all the necessary dependencies and create the project.
When complete, we’re provided with a new project directory that has a scaffold similar to this:
default_project/
  README.md
  babel.config.js
  node_modules/
  package.json
  public/
  src/
Here’s a a quick walkthrough of some of the main files and folders that are scaffolded in a default Vue CLI project:
README.md
All extra information/run steps are listed in the README.md file.
babel.config.js
The babel.config.js file contains configuration of Babel presets and plugins to help transpile ES6 JavaScript to ES5.
node_modules/
The node_modules/ directory refers to all the different JavaScript libraries that have been installed into our project.
package.json
The package.json file lists all the locally installed npm packages in our application for us to manage in addition to having some built-in scripts already created for us (e.g. serve, build, lint).
public/
The public/ folder contains the root markup page (index.html) where our Vue application is to be mounted upon. index.html is where we can also add additional webfonts, style tags, etc. that we might need in our app.
src/
The src/ directory contains the Vue/JavaScript code that we’ll find ourselves working directly with.
In addition to these files/folders, we would also see other files/directories for the extra build tools that we can set-up during a manual set-up (eg. tsconfig.json file for the TypeScript compiler options).
A vue-cli packaged app comes with a few built-in scripts it creates for us (which can be seen in the package.json file). Once the setup of our newly created project is complete, we can navigate into the project (cd default_project) and start our app using the npm run serve command.
npm run serve

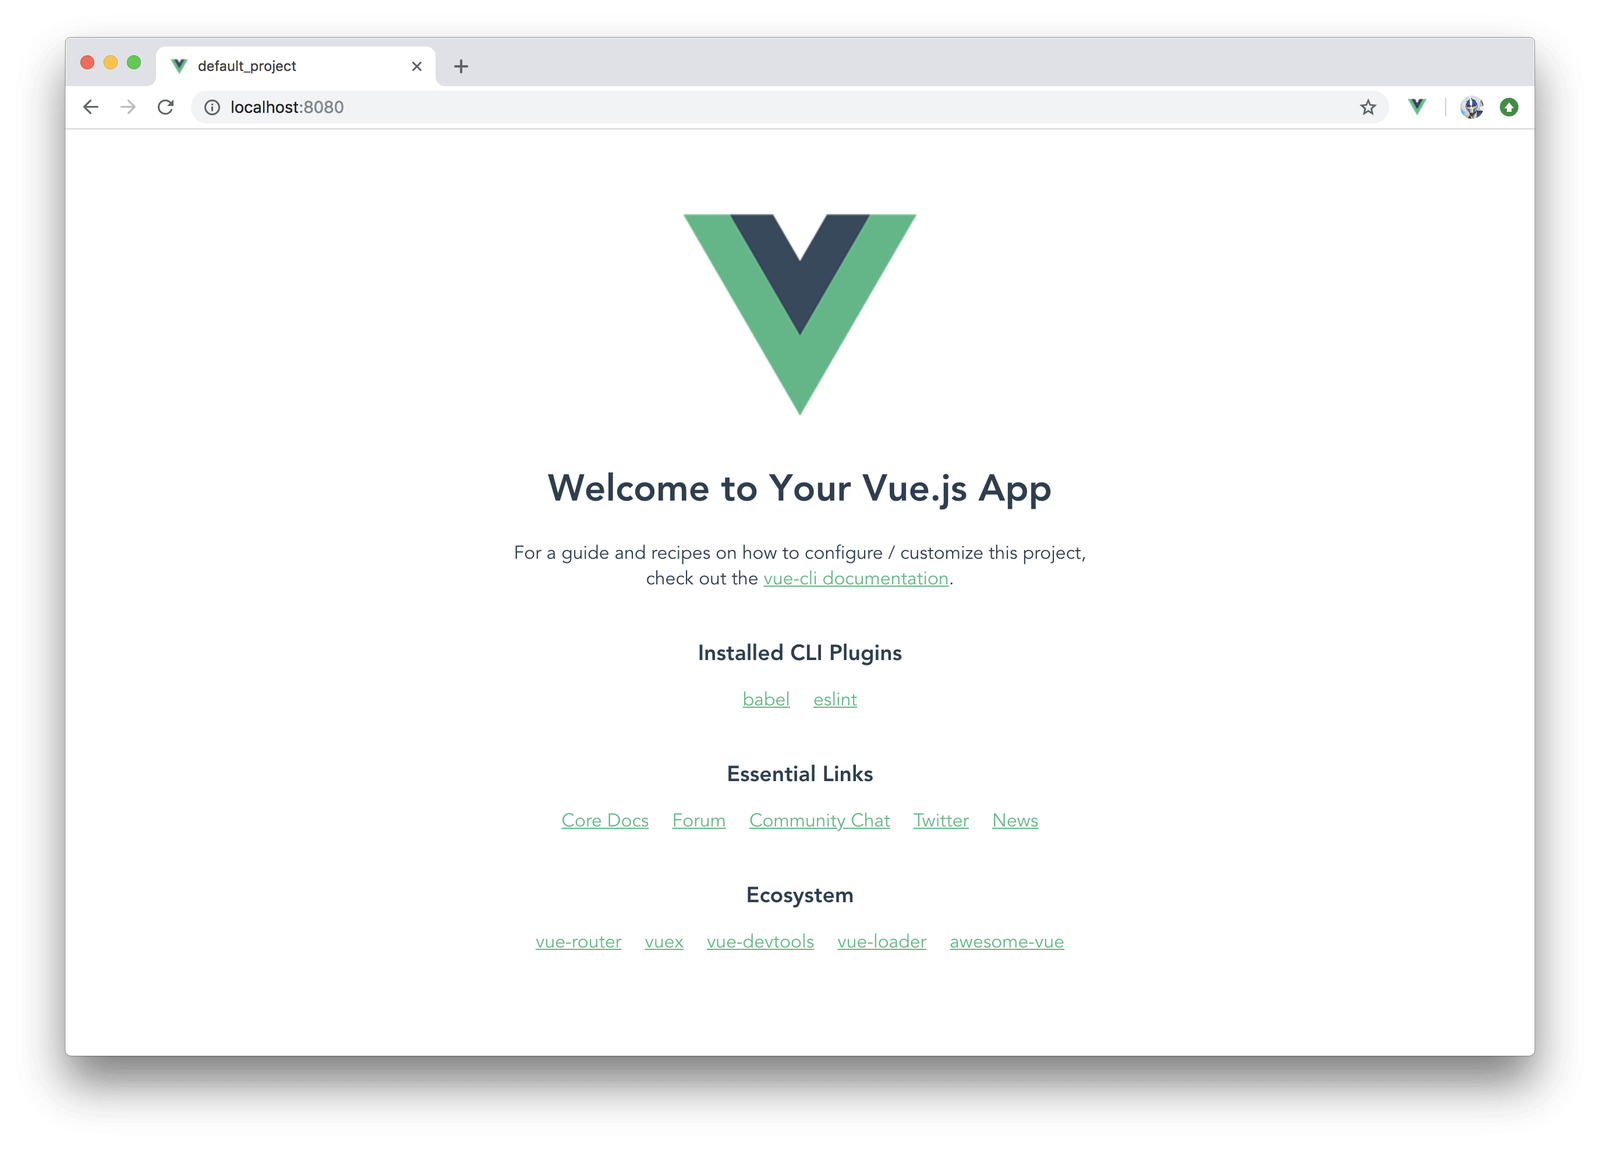
With the Webpack server running, we’re then able to view our app at localhost:8080.
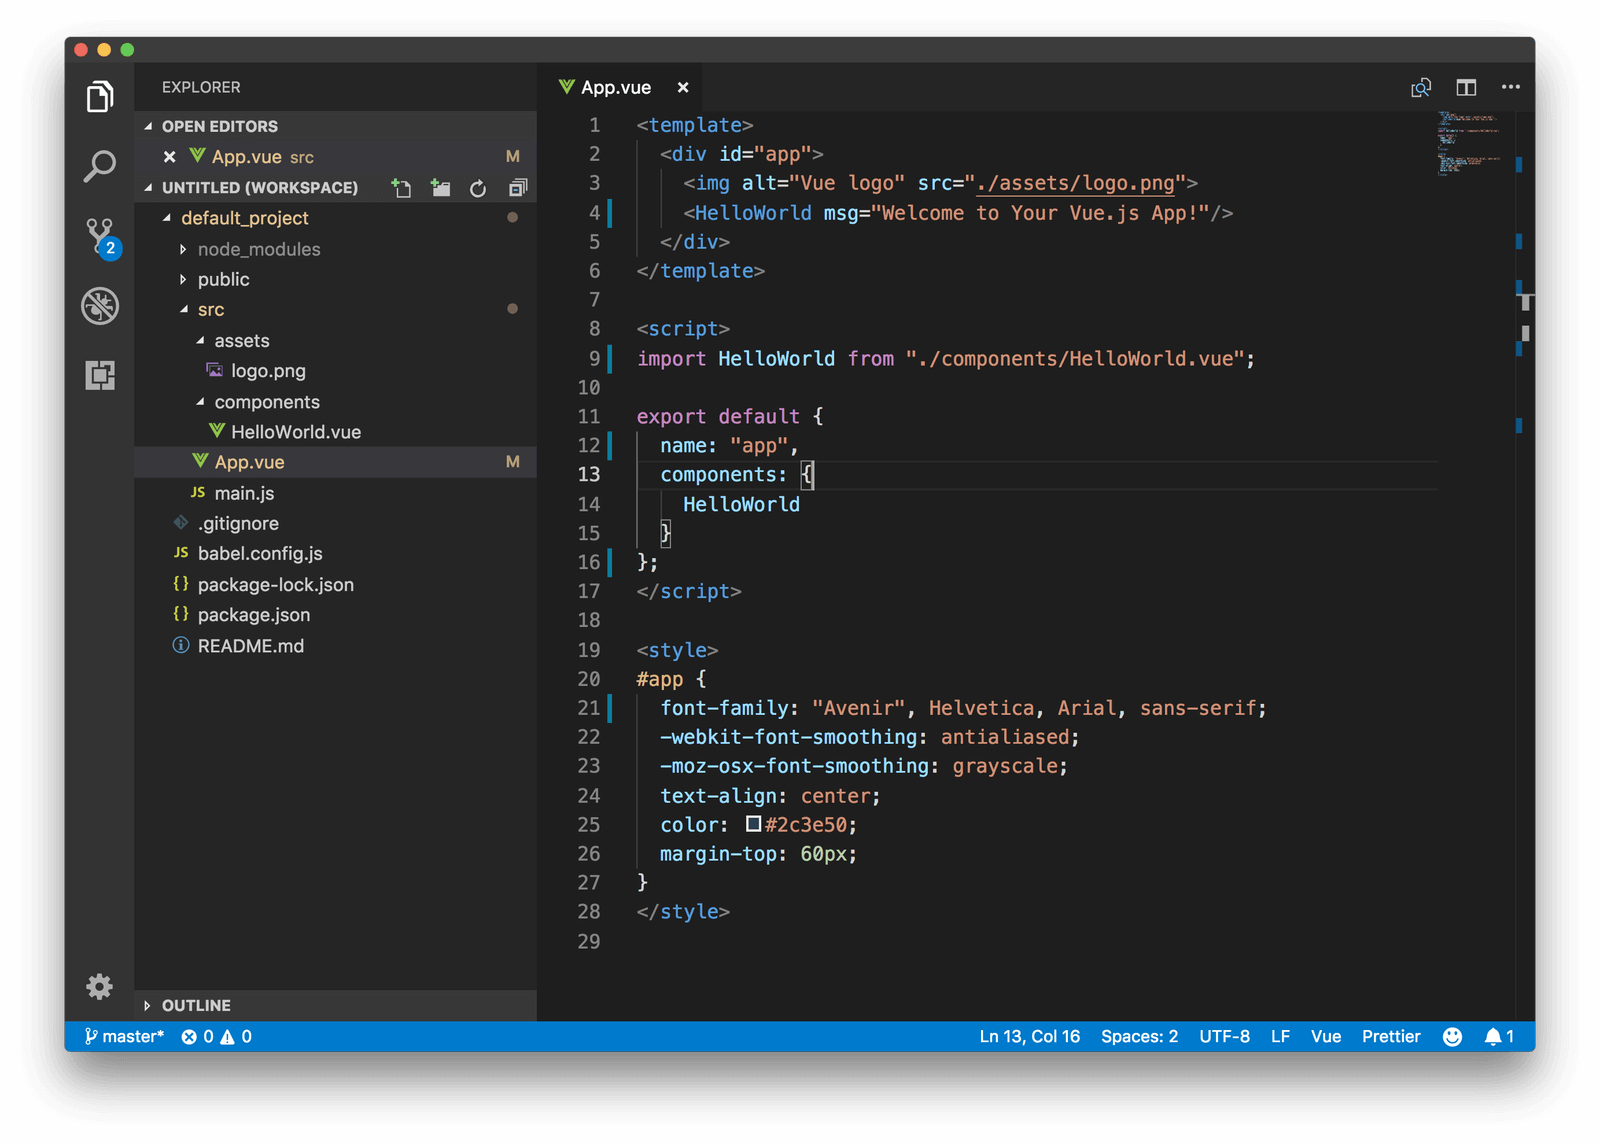
If we open up the project src/ folder in the code editor of our choice, we’ll see a simple Vue app constructed with single-file components. The src/App.vue file can be seen to be a basic Vue component that displays the Vue logo image and renders the HelloWorld component created in the src/components/HelloWorld.vue file.
The Vue CLI scaffolded project is hot-module reloaded which allows the application UI to automatically update when there’s a change (and save) in Vue code without the need to make a hard refresh.
How awesome is that! And when it comes to configuration, we’re able to continue configuring the build tools of our app as much as we want with no issues. There is no concept of ejecting.
This page is a preview of 30 Days of Vue
Get the rest of this chapter and 330+ pages of Vue instruction for free.
The entire source code for this tutorial series can be found in the GitHub repo, which includes all the styles and code samples.
If at any point you feel stuck, have further questions, feel free to reach out to us by:
