


This post is a part of the React Daily UI post series, a joint effort between Jack Oliver, Sophia Shoemaker, and the rest of the team at Fullstack React. Each day we're explaining in detail how to create a UI component with React.
You can view the Codepen implementation here
Or you view the code on Github here
Welcome to React Daily UI, where every day is opportunity to learn how to build beautiful React applications. We're really excited to be partnering with Jack Oliver who is embarking on this ambitious project with us.
Jack is designing and writing the code for these applications and we're going to deconstruct each one to highlight the features that are unique to React.
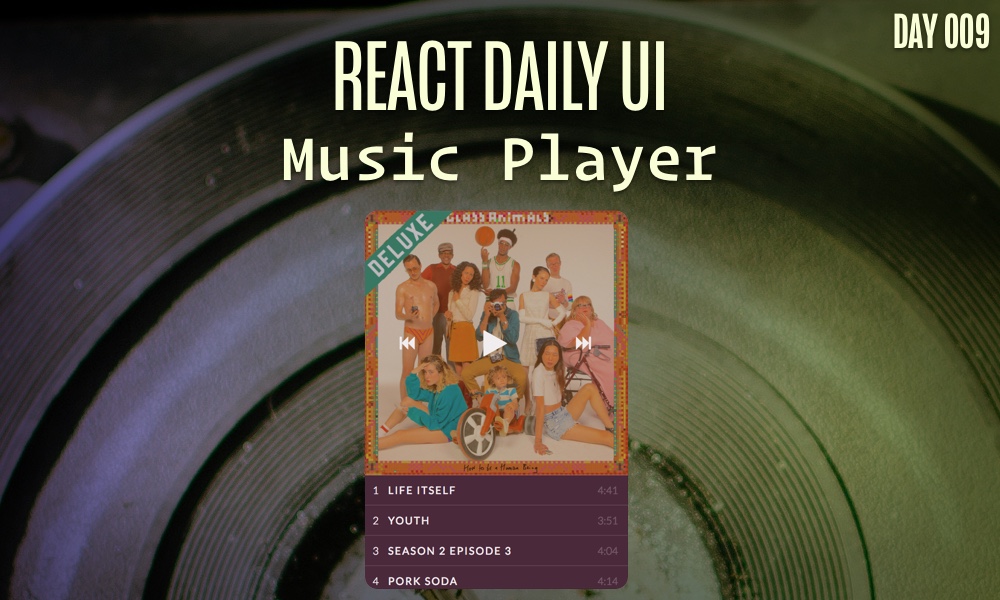
Today we're going to learn how to create a music player using some of the new features in React 16.
Overview
In implementing this music player, we are going to learn about some of the changes that are in React 16 -- there are quite a few changes, so we won't cover all of them, but we will cover the ones that are important and that you can implement today. The album art comes from an album by a band called the Glass Animals. Since we can't legally stream the "Glass Animals" soundtrack, we've picked some royalty free music to play in it's place so we can get the full effect of the music player.
Table of Contents

Want to be a pro at building UIs in React?
This post is the first of many that will explain step-by-step how to create professional UI components in React. If you want to become a pro at building UIs in React, put in your email below and we'll notify you as each post is completed.
state in a React application
All React applications include a property called state to determine how and what components (and any data associated with those components) should be displayed.
Our music player has a state property that contains two important pieces of information, one variable the specifies whether the player is playing music -- the playing boolean and one variable that tracks the state of the current track -- the currentTrackIndex variable.
this.state = {
  playing: false,
  currentTrackIndex: 0
};
What is state?
When we refer to a component's
state, we mean a snapshot of the instance of the component on the page.React's components can define their own
statewhich we'll use in today's post. When we use state in a React component the component is said to be stateful. A React component can define it's own state using astateproperty for handling stateful components, such as our music player.
As the user clicks the play, pause, next,previous buttons and the tracks in the player, our component will update it's current state.
props vs state
For React applications it's important to understand the distinction between props and state. Our music player has two state variables that determine the way our application is displayed at a given point in time. The App component is our main component that drives the display of our child components, the Controls component and the TrackList component. In order for these two components to receive information about the state of our application, the App component will pass information down as props to the children components. These props can then be used in the child component to display their pieces of the application correctly. Another important thing to understand is that every time our App component updates, our Controls component and TrackList component will be updated as well because they rely on information from the App component.
Controls
Our Controls component is the first child of our App component. The Controls component is given two props: onClick and playing. The onClick prop allows us to pass down our handleClick function we've defined in the App component to the Controls component. When the user clicks one of the buttons in our Controls component, the handleClick function will get called. The playing prop allow the Controls component to know what the current state of the player is so we can properly render the play icon or the pause icon.
Let's explore how we render our buttons and handle clicks in our Controls component.
In our Controls component we have three important buttons:
- The
<<(previous) button -- an arrow icon pointing to the left -- which selects the previous track in the list - The 'play/pause' button which plays and pauses the music
- The
>>(next) button -- an arrow icon pointing to the right -- which selects the next track in the list
When each of these buttons are clicked, we call the click handler function that we passed in from the App component. Each of the buttons in our music player application has an id which will aid us in determing how a particular click should be handled.
In the internals of the handleClick function, we use a switch statement that uses the id of the button that was clicked -- e.target.id to determine how to handle the action from the button. Let's take a look at what happens in each case of the switch statement:
The play button
When the play button is clicked, we will need to update a few parts of our application. One part of our application we need to update is to switch the play icon to the pause icon. The other aspect of our application we need to update is the currentTrackIndex if it is currently set to 0. In order to change these two parts of our application we will call setState, a function available to every React component.
The setState function is available to all React components and it is how we update the state of our music player. The first argument in the setState function can either be an object or a function. If we are not relying on the current state of an application to calculate the next state, using an object as the first argument is a perfectly fine approach and looks like this: this.setState({currentState:'newState'}). In our case, we are relying on the current state of the application to determine the next state of our application so we will want to use a function. The React documentation indicates why this is important:
React may batch multiple
setState()calls into a single update for performance. Becausethis.propsandthis.statemay be updated asynchronously, you should not rely on their values for calculating the next state.
As React 16 turns on more of it's features (including asynchronous rendering) this distinction will become more important to understand.
When we call setState when the play button is clicked, we pass in a function because we are relying on the current value of the currentTrackIndex state variable. The first argument that is passed into the function is the previous state of our application and the second argument is the current props. In our case, we just need the previous state of the application to determine the next state:
case "play":
  this.setState((state, props) => {
    let currentTrackIndex = state.currentTrackIndex;
    if (currentTrackIndex === 0) {
      currentTrackIndex = 1;
    }
Once we've set the currentTrackIndex properly based on the previous value of the currentTrackIndex, we then return an object of the values we want to update. In the case of the play button being clicked, we update our playing boolean to true and set the value of the currentTrackIndex:
return {
  playing: true,
  currentTrackIndex: currentTrackIndex
};
The second argument that is passed into the setState function is a callback function that is called after the setState function is completed. When the play button is clicked, and the state of our application is updated, then we want to start playing the music. We pass in the this.playAudio function as the second argument to our setState function.
},this.playAudio);
When the playAudio button is called, we reference the audio tag and call the load() and play() functions available to us via the Web Audio API.
playAudio(){
  this.audioElement.load();
  this.audioElement.play();
}
ref to a DOM element
In order to reference the actual audio DOM element to play the audio, we'll need to use a special attribute available to all React components, the ref attribute. From the React documentation:
When the ref attribute is used on an HTML element, the ref callback receives the underlying DOM element as its argument.
In our situation, we add the ref attribute to our audio DOM element and that allows us to play the audio for each track:
<audio ref={(audio)=>{this.audioElement = audio}} src={"/songs/"+this.state.currentTrackIndex+".mp3"}/>
The pause button
When the pause button is clicked, we call this.setState and set our playing boolean to false.
case "pause":
  this.setState({ playing: false },this.pauseAudio);
  break;
The second argument for our setState function call is our this.pauseAudio function which references the audio element and calls the pause() function.
pauseAudio(){
  this.audioElement.pause();
}
The << (previous) button
When the << icon is clicked, the id of the previous button matches the "prev" case of the switch statement, so the code associated with the "prev" case is executed. In the "prev" case, we call this.setState() again with a function like we did for playing and pausing our application. This time we use the previous value of currentTrackIndex to decrement the value and return an object to set currentTrackIndex to the new value.
case "prev":
  this.setState((state, props) => {
    let currentIndex = state.currentTrackIndex - 1;
    if (currentIndex <= 0) {
      return null;
    } else {
      return { playing:true,currentTrackIndex: currentIndex };
    }
  },this.playAudio);
Returning null from setState
One of the new changes in React 16 is that when we return null from a setState function, our application will not be re-rendered. Our track listing has 11 tracks available. If the user continues to click the << button, the currentTrackIndex will decrement until it gets to 0. Once it gets to 0, we no longer want to decrement the currentTrackIndex and we no longer need to re-render our application. We also do the same when our >> icon is clicked. If the currentTrackIndex is equal (or greater than) the number of tracks in our list (11) then we return null from setState.
The >> (next) button
When the >> button is called we have a similar functionality in place as the << button. Each time the user clicks the >> we increment the currentTrackIndex and we check that the currentTrackIndex is not greater than the length of the track list. If it is, we return null in our setState function call.
case "next":
  this.setState((state, props) => {
    let currentIndex = state.currentTrackIndex + 1;
    if (currentIndex > data.tracks.length) {
      return null;
    } else {
      return { playing:true,currentTrackIndex: currentIndex };
    }
  },this.playAudio);
  break;
Track List
We have hard coded the track listing data in a JSON file for ease of understanding the concepts in this article. We import the data from the JSON file at the top and in our lifecycle method componentDidMount, we set the state of our TrackList component. The state of our TrackList component contains one variable, the tracks variable.
Lifecyle methods componentDidMount & componentDidUpdate
Every React component, in addition to the setState function, also has lifecycle methods available. Our TrackList component uses two of these componentDidMount and componentDidUpdate. componentDidMount is called when the React component is available in the DOM. In this case, we want to add some data to our component, so calling setState in componentDidMount is the appropriate time to do that.
When our App component updates the currentTrackIndex, the componentDidUpdate method in our TrackList component is triggered because the TrackList component is getting new data. When the TrackList component gets new data, we want to make sure the currently selected track is in our viewport, so we make some calculations to determine where in the DOM the currently selected track exists and make it appear in the view of the track list container.
componentDidUpdate() {
  if (this.activeTrack) {
    let topOfTrackList = this.trackList.scrollTop;
    let bottomOfTrackList =
      this.trackList.scrollTop + this.trackList.clientHeight;
    let positionOfSelected = this.activeTrack.offsetTop;
    if (
      topOfTrackList > positionOfSelected ||
      bottomOfTrackList < positionOfSelected
    ) {
      this.trackList.scrollTop = positionOfSelected;
    }
  }
}
Displaying the list of tracks
We use the JavaScript map() function to loop over our array of tracks and call a function for each element in the array. The function we call is renderListItem and contains some logic to determine if the currentTrackIndex is the current element in the array we are rendering. If it is, we need to make sure the value for the className on the li includes the selected string. This will ensure that the styling for the selected track will be different when compared to the rest of the list.
renderListItem(track, i) {
  let trackClass = this.props.currentTrackIndex === track.id
    ? "selected"
    : "";
  return (
    <li
      key={track.id}
      className={trackClass}
      ref={cur => {
        if (this.props.currentTrackIndex === track.id) {
          this.activeTrack = cur;
        }
      }}
      onClick={()=>{this.props.selectTrackNumber(track.id)}}
    >
      <div className="number">{track.id}</div>
      <div className="title">{track.title}</div>
      <div className="duration">{track.duration}</div>
    </li>
  );
}
The li element also contains some other important attributes:
-
key-- whenever we have a list we need to include this attribute so that the list will render properly. For more information on using keys with lists in React, check out this article in the React documentation. -
className-- to make sure thelihas theselectedclass attached to it if it is the currently selected track -
ref-- we use therefattribute to calculate the correct location of the track list container. If the current track is not visibile, we calculate the location of the current track and make it visible. We need to access the actual DOM element to make this calculation correctly. -
onClick-- when the user selects a particular track, we call this function which callsthis.props.selectTrackNumber. This function is passed into theTrackListcomponent from our parentAppcomponent just like the click handler for theControlscomponent. When this function is called, the state of our application is updated with thecurrentTrackIndexgetting set to the track number the user selected.
selectTrackNumber(trackId){
  this.setState({currentTrackIndex:trackId,playing:true},this.playAudio);
}
Try it out!
Check out the Codepen example:
The complete source for this article is also available on Github here.
To start the app, download the code,
cdinto the project directory and type:npm install npm start
Want to be a pro at building UIs in React?
This post is the first of many that will explain step-by-step how to create professional UI components in React. If you want to become a pro at building UIs in React, put in your email below and we'll notify you as each post is completed.

Learn React the right way
The up-to-date, in-depth, complete guide to React and friends.
Download the first chapter