


Editor's Note: We are excited to have a guest blogger on our blog for this article! Jordan Papeleo is a technologist, programmer, and code mentor who has deep passions about growing developers, his community, his faith, and his mustache.
Overview
Experiences are how we process, interact with and remember information. WebVR gives us the ability to create experiences and immerse people in them from their browser. Via https://webvr.info/:
"WebVR is an open standard that makes it possible to experience VR in your browser. The goal is to make it easier for everyone to get into VR experiences, no matter what device you have"
Augmented reality on the web could expose people to experiences in ways like never before. A surgeon could practice surgery without the risk to human life. We could create virtual labs with an endless amount of supplies to learn chemistry or biology. The possibilities are endless.
Today we are going to learn how to create a simple augmented reality experience using a library called A-Frame and React.
Our project
I spent about three months before react-vr came out working on a prototype of an immersive experience. We are going to take what I learned from that and create a relatively simple application that takes an equirectangle image and use it as our back drop for the beginnings of a virtual experience. To do this we will to use ReactJS and Aframe.io.
Aframe.io
A-Frame is a web framework used to build virtual reality experiences built on top of technologies like three.js and the WebVR API The Mozilla VR Team developed it as a fully open project. You can use A-Frame with React, Preact, VueJS, Angular, or even just plain ol' JavaScript. You write part of your A-Frame code using XML tags similar to how you would with HTML. That markup is used to create a scene which is made up of multiple entities. The A-Frame team is a great group of developers who are really responsive to questions. High five to those guys!
What about React VR?
React VR is another library that allows you to build VR applications using JavaScript. It uses the same design as React, letting you compose a rich VR world and UI from declarative components.
A-Frame and React VR are very similar, so some of you may be wondering why wouldn't we use React VR? React VR is a newer library and doesn't have as many features as A-Frame. The community around React VR is growing, so it's worth it to check out both libraries if you're interested in learning more about creating augmented reality experiences.
Project setup
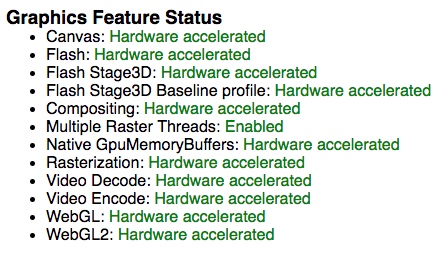
Verify your browser compatibility
Open up Google Chrome and put chrome://gpu/ in
the address bar. This will open our Chrome GPU info. It looks
at your chrome version as well as your graphic hardware to
determine what feature support you have. We need to see happy
green words next to WebGL.
Create React App
Let's get started! Go ahead an open up your terminal. We need to check what version of node you have:
node -v
You will be fine if your node version is at least 6.0.0 If it
is not please or if you got an error like
command not found follow this
link to get node installed or
updated.
Next we need to make sure that you have the Create React App tool installed. We will use this tool quickly spin up a full React application and dive into the fun part of this blog. Let's verify this in our terminal:
create-react-app --version
If you did not see a version print out and saw a
command not found error, then create-react-app is
not installed and you can quickly fix this by running this
command:
npm install -g create-react-app # globally installs create-react-app for your use
Finally, its time to create our application. This next step may take a minute or two. Again in our terminal:
create-react-app fullstackio-webvr # creates your new app
cd fullstackio-webvr # navigate into the directory
npm start # run your app
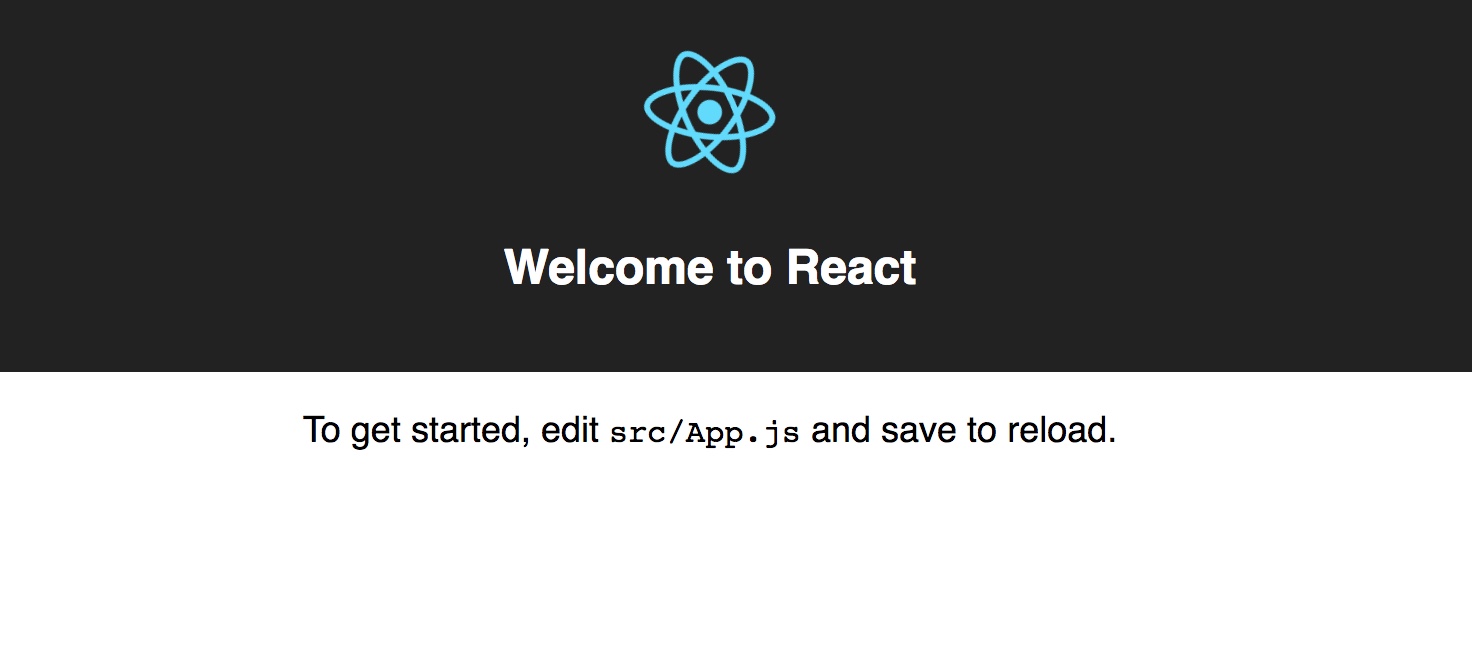
Everything should be wonderful now and you should have a React application running in your browser.
Go ahead and open this project in your favorite code editor.
Open up src/App.js so we can remove some code.
- Remove everything within the root div
- Clear out the import for the svg file and the css file
Your resulting code should look like this:
import React, { Component } from 'react';

class App extends Component {
  render () {
    return (
      <div></div>
    );
  }
}

export default App;
Setup Complete!
A-Frame setup
Now, we are going to install A-Frame as a dependency for our application. A-Frame uses a declarative way of writing code and feels very comfortable to anyone who has written JSX. It also has a handy debugging tool.
Back to the terminal:
npm install --save aframe
Hello VR World
We now need to import A-Frame into our React component and then add our first tag, the scene. The scene is the tag that all of other content will live in. Replace the div tags with the <a-scene> tag. The scene handles all of the three.js and WebVR boilerplate for us:
- Sets up the HTML canvas to hold our virtual reality world
- Creates the renderer
- Starts the render loop
- Adds a default camera
- Adds a directional light
- Adds an ambient light
- And a few other cool things too
import 'aframe'
import React, {Component} from 'react'

class App extends Component {
  render () {
    return (
      <a-scene></a-scene>
    );
  }
}

export default App;
When you run this, you may see a warning in from A-Frame requesting that you put this dependency in a script tag in the head tag of your HTML. We don't need to worry about this warning.
Congratulations, you officially made a VR world. Now it's
time to explore our world using the dev tools and visual
inspector. With your browser active, go ahead hit the
following keys together:
<ctrl> + <alt> + i. This will open
the visual inspector and dev tools. On the left side of the
screen you will see all of the components we just created.
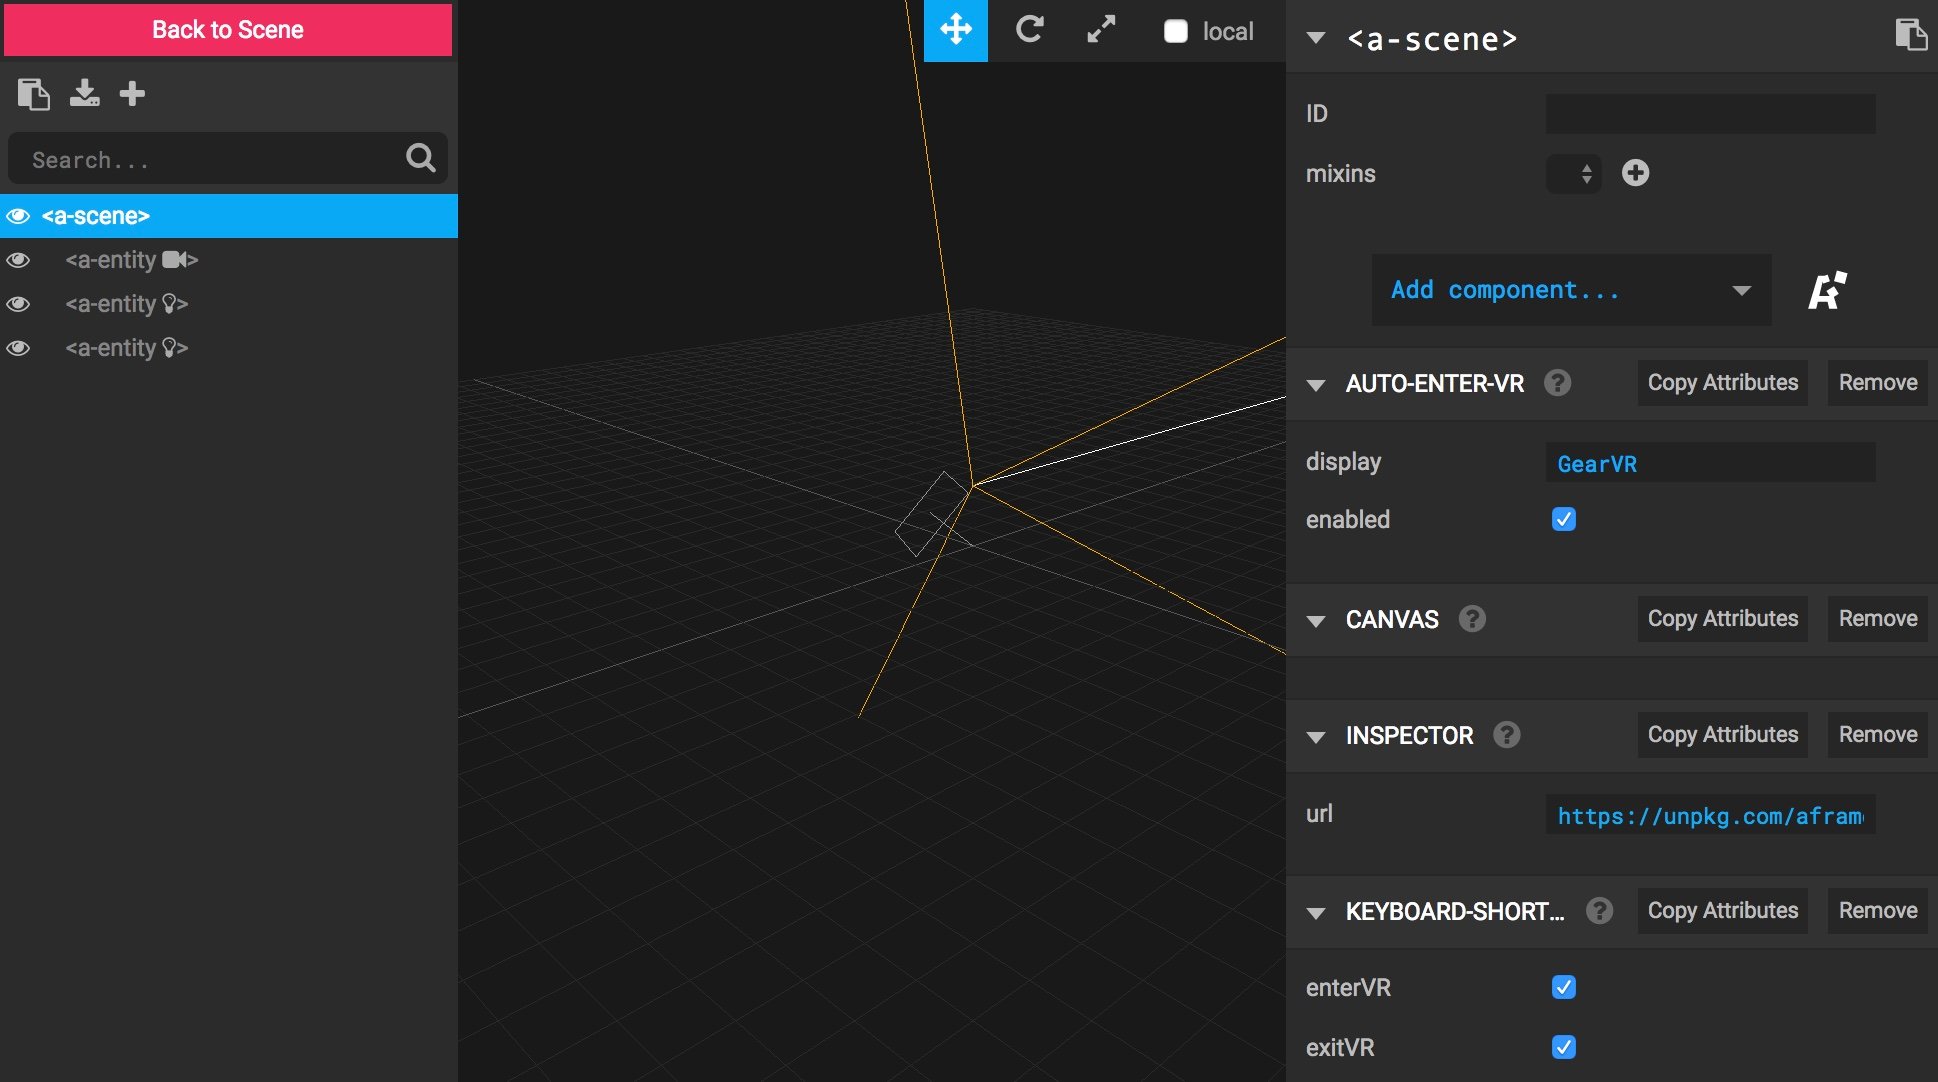
Click on the components on the left side and then check out the A-Frame component in the inspector. Notice that our scene is not empty. Remember those lights and the camera we mentioned above? Those are them. Click on the entities and move them around, zoom in and out, have a little fun. Cool isn't it? It doesn't really do anything yet, so lets add a few more details.
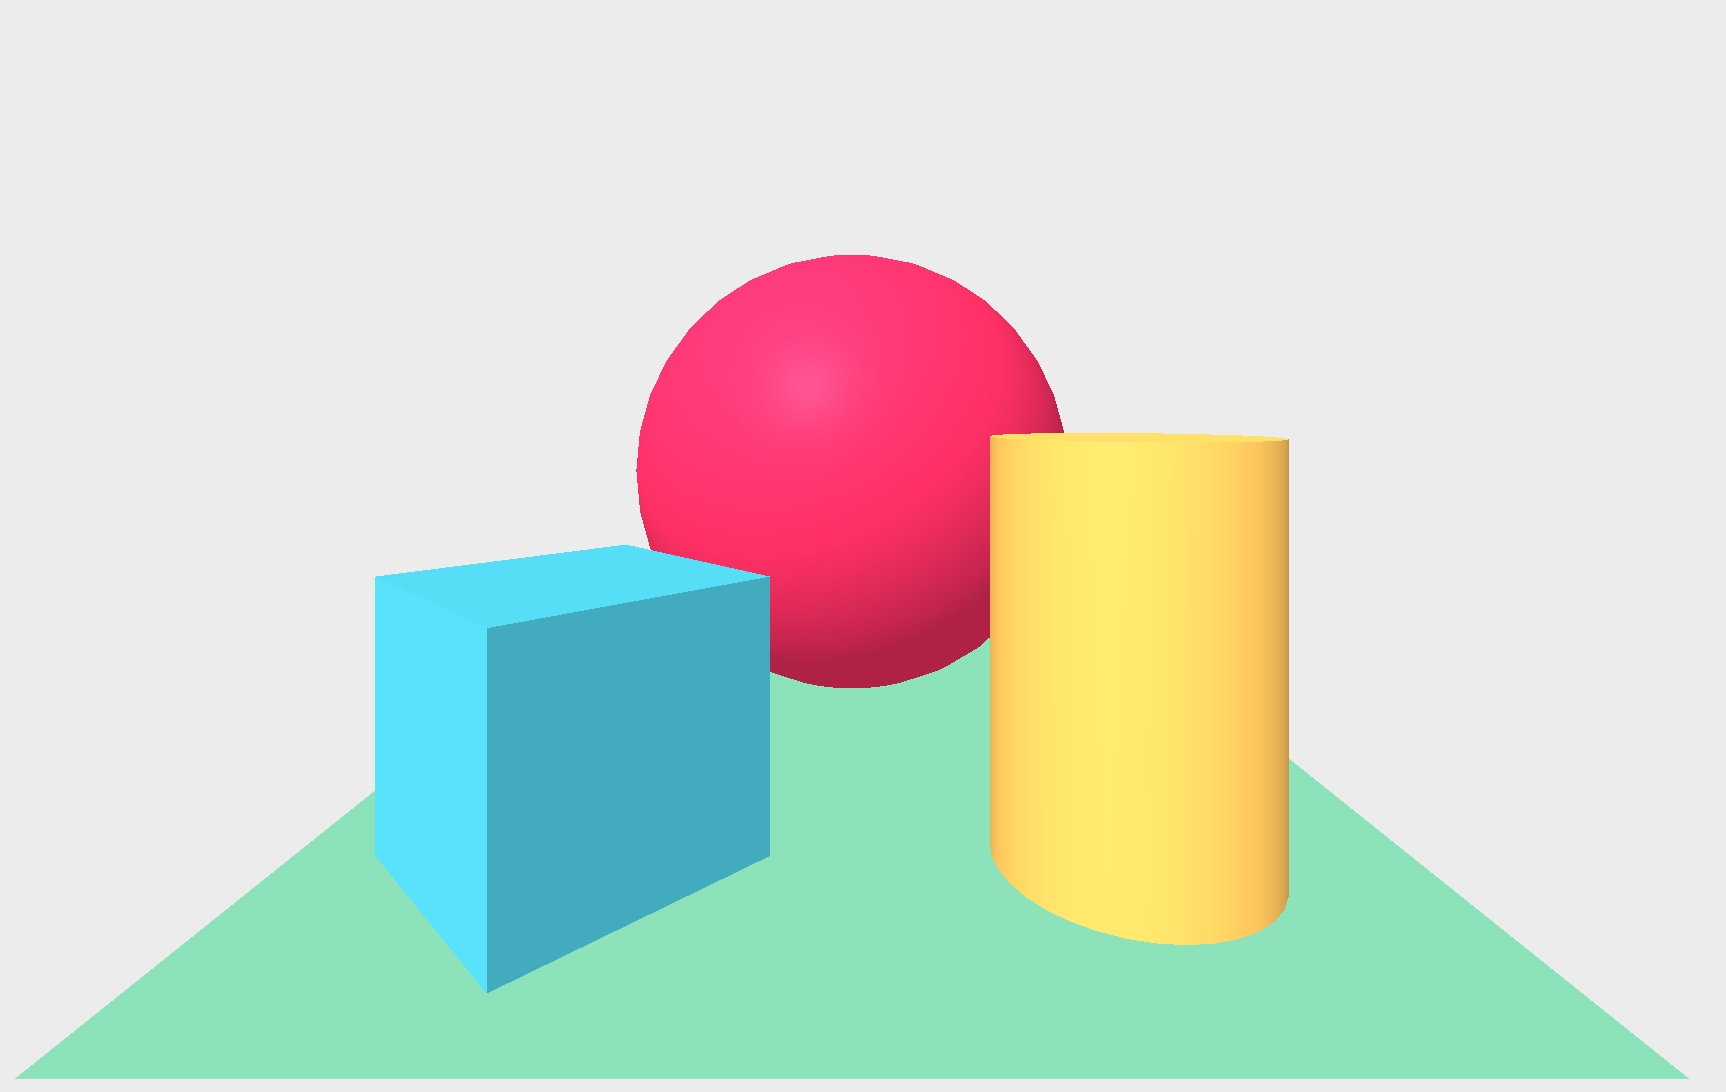
We are going to compose a few entities and add them to the scene. You can think of an entity as a generic place holder object. We can apply appearance, behavior, and functionality to them. In our example, we will be adding geometries, materials, rotations, and positions.
Geometry: this component will provide basic shape for our entity. It describes the physical attributes of our entity using properties like a primitive shape, width, height, and radius.
Material: this component gives appearence to an entity. It describes what our entity will look like using properties like color, opacity, or texture.
Position All positions in A-Frame use a right-handed coordinate system. This means that a the negative value Z axis will move away from your camera when its looking straight forward while a positive Z value will end up behind your camera.
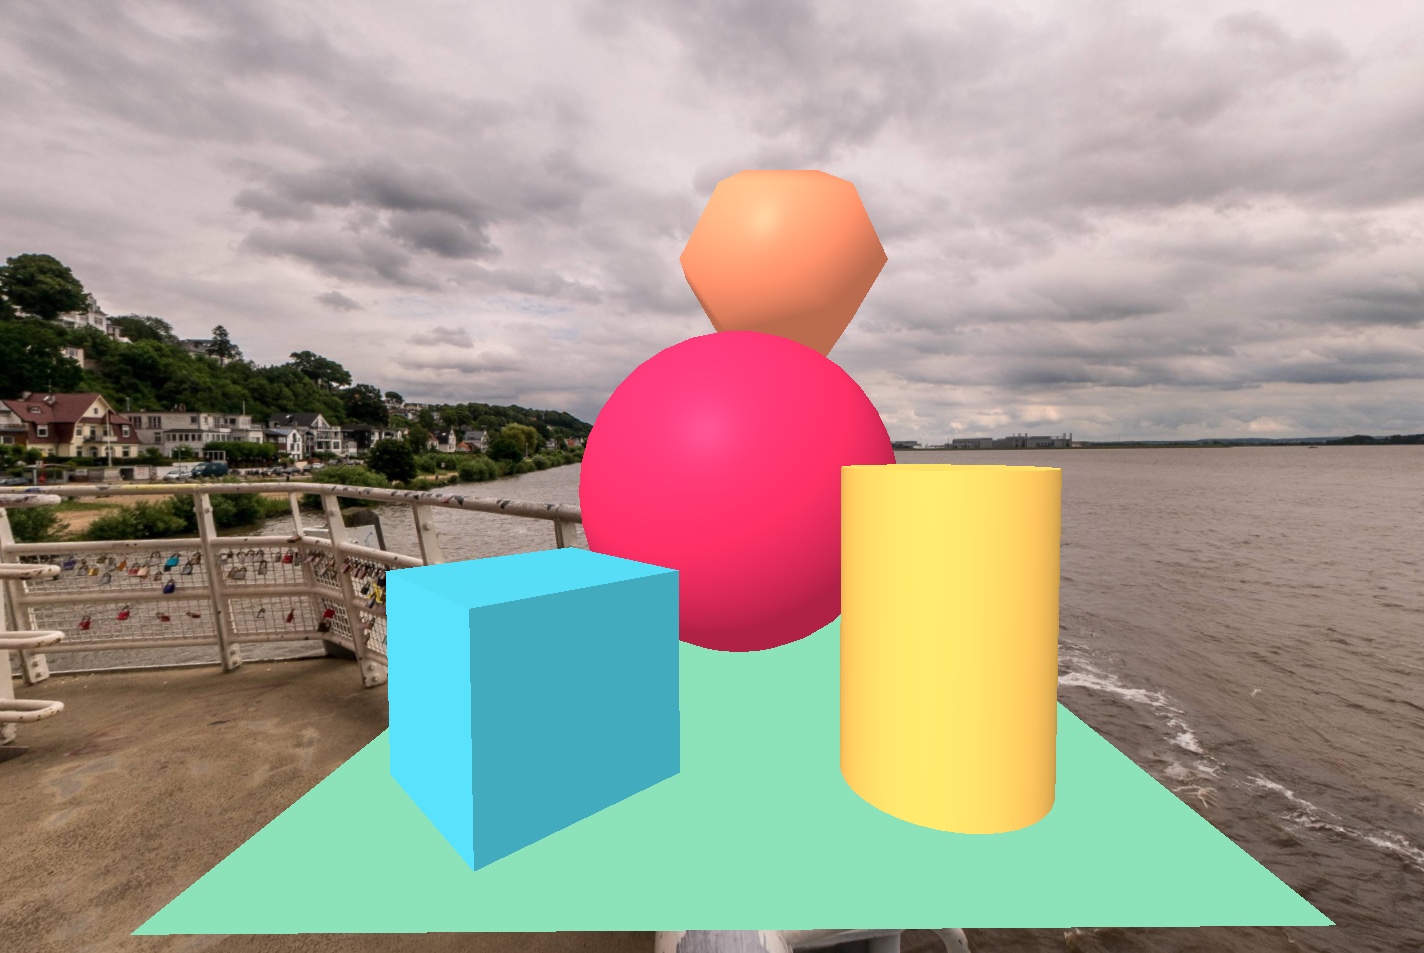
Update the render function of your component by adding some entities:
class App extends Component {
  render () {
    return (
      <a-scene>
        <a-entity
          geometry="primitive: box"
          position="-1 0.5 -3"
          rotation="0 45 0"
          material="color: #4CC3D9" />
        <a-entity
          geometry="primitive: sphere; radius: 1.25;"
          position="0 1.25 -5"
          material="color: #EF2D5E" />
        <a-entity
          geometry="primitive: cylinder; radius: 0.5, height: 1.5"
          position="1 0.75 -3"
          material="color: #FFC65D" />
        <a-entity
          geometry="primitive: plane; width: 4; height: 4"
          position="0 0 -4"
          rotation="-90 0 0"
          material="color: #7BC8A4" />
      </a-scene>
    );
  }
}
A-Frame gives you access to a lot of primitive entities out of
the box so we can add a sphere by just using the
<a-sphere> tag. Let's update our
render function one more time. You can find more primitives to
add to your scene by going to the A-Frame
docs.
class App extends Component {
  render() {
    return (
      <a-scene>
        <a-box
          position="-1 0.5 -3"
          rotation="0 45 0"
          color="#4CC3D9" />
        <a-sphere
          position="0 1.25 -5"
          radius="1.25"
          color="#EF2D5E" />
        <a-cylinder
          position="1 0.75 -3"
          radius="0.5"
          height="1.5"
          color="#FFC65D" />
        <a-plane
          position="0 0 -4"
          rotation="-90 0 0"
          width="4"
          height="4"
          color="#7BC8A4" />
      </a-scene>
    );
  }
}
Play with the inspector again using ctrl+alt+i.
Look at the details while you drag the scene around and notice
the shading and the light reflection. Cool stuff!
Adding 360 photo
We have one more step for this super basic project. We need to add our equirectangle image to our scene.
Equirectangle: this is the final form of a photo that came from a 360 degree camera. These cameras will use multiple super wide angle lenses and capture a spherical image. The camera has software on it to stitch these multiple images into a single image. It will look distorted in its raw form but we are going to use in a special way that will actually make it look normal.
First we need to find an image. A simple search on
flickr
will give us a ton of images to use but not all of them are
available for download. Respect the rules and just keep
looking until you find one that can be downloaded. Save the
image to the src directory in our project. We are
going to use a new primitive called a-sky and set it's
src to be the image using a require statement.
The sky is a large sphere entity with a color or, in our case,
an image mapped to the inside.
class App extends Component {
  render () {
    return (
      <a-scene>
        <a-box
          position="-1 0.5 -3"
          rotation="0 45 0"
          color="#4CC3D9" />
        <a-sphere
          position="0 1.25 -5"
          radius="1.25"
          color="#EF2D5E" />
        <a-cylinder
          position="1 0.75 -3"
          radius="0.5"
          height="1.5"
          color="#FFC65D" />
        <a-plane
          position="0 0 -4"
          rotation="-90 0 0"
          width="4"
          height="4"
          color="#7BC8A4" />
        <a-dodecahedron
          color="#FF926B"
          radius="5"
          position="0 -1 -30"></a-dodecahedron>
        <a-sky src={require('./img.jpg')} />
      </a-scene>
    );
  }
}
Here is mine:
That's it! You have successfully created an augmented reality immersive experience using ReactJS and Aframe.io.
The complete source for this article is also available on Github here.
Learn React the right way
The up-to-date, in-depth, complete guide to React and friends.
Download the first chapter