


A step-by-step guide to building your own navigator in JavaScript for React Native
Build a JavaScript Navigator for React Native
Navigation is a hot, and often contested, topic in React Native. It's something nearly every app has, multiple solutions exists, and they each have their pros and cons.
There are great solutions out there (React Navigation and React Native Navigation are my top choices) but I think building a navigator is a great exercise to further your understanding of React Native. It forces you to design an API, work with animations, handle gestures, and more.
So that's what we'll do today. We'll build a basic JavaScript navigator for React Native.
Requirements
We're going to build a navigator that allows us to keep a stack of cards. It should
- have a simple declarative API
- allow us to push new screens onto the stack
- pop the current screen off the stack and go to the previous screen
- animate between screen transitions
- handle user gestures for swiping back (covered in part 2)
Getting Started
I'll be using create-react-native-app to
create my project. You can run the following in your terminal
create-react-native-app rn-js-navigator
You can then run the app on an iOS or Android simulator with
yarn run ios or yarn run android,
respectively.
API Design
The navigator will have one Navigator component
with which we wrap all of the valid screens. Each screen we
want to register with the navigator will be passed in a
Route component. Like this:
<Navigator>
  <Route name="Screen1" component={Screen1} />
  <Route name="Screen2" component={Screen2} />
  <Route name="Screen3" component={Screen3} />
</Navigator>
The top level Navigator component is where all
the actual work happens. The Route component
allows us to pass various properties/configuration down for
each screen - in this case a name (which will be used to
specify which screen should be pushed) and a component (which
component should actually be rendered).
Each route will get a navigator prop passed to it
and on that navigator prop a
push and pop function will be on it.
Allowing for the following type of interaction:
const Screen2 = ({ navigator }) => (
  <View style={[styles.screen, { backgroundColor: '#23395B' }]}>
    <Button
      title="Screen 3"
      onPress={() => navigator.push('Screen3')}
    />
    <Button
      title="Pop"
      onPress={() => navigator.pop()}
    />
  </View>
);
Alright, with the basic API outlined, lets get to writing some code.
Boilerplate
First, let's create the three screens we'll use in
our app. In App.js replace the file with the
following
App.js
import React from 'react';
import { StyleSheet, View, Button } from 'react-native';

const Screen1 = ({ navigator }) => (
  <View style={[styles.screen, { backgroundColor: '#59C9A5' }]}>
    <Button
      title="Screen 2"
      onPress={() => navigator.push('Screen2')}
    />
    <Button
      title="Pop"
      onPress={() => navigator.pop()}
    />
  </View>
);

const Screen2 = ({ navigator }) => (
  <View style={[styles.screen, { backgroundColor: '#23395B' }]}>
    <Button
      title="Screen 3"
      onPress={() => navigator.push('Screen3')}
    />
    <Button
      title="Pop"
      onPress={() => navigator.pop()}
    />
  </View>
);

const Screen3 = ({ navigator }) => (
  <View style={[styles.screen, { backgroundColor: '#B9E3C6' }]}>
    <Button
      title="Pop"
      onPress={() => navigator.pop()}
    />
  </View>
);

export default Screen1;

const styles = StyleSheet.create({
  screen: {
    flex: 1,
    alignItems: 'center',
    justifyContent: 'center',
  },
});
Now, let's create a Navigator.js file in
which all of our navigation logic will live. Right now
it's just going to be a skeleton of the exported
components.
Navigator.js
import React from 'react';

export const Route = () => null;

export class Navigator extends React.Component {
  render() {
    return null;
  }
}
Now, lets go back to App.js and use these new
components to define our routes.
First we need to import our components.
App.js
import { Navigator, Route } from './Navigator';
The replace
export default Screen1;
with
App.js
export default class App extends React.Component {
  render() {
    return (
      <Navigator>
        <Route name="Screen1" component={Screen1} />
        <Route name="Screen2" component={Screen2} />
        <Route name="Screen3" component={Screen3} />
      </Navigator>
    );
  }
}
If you see a blank white screen you're exactly where you should be!
Rendering Screens
All of our screens are accessible via
this.props.children in the Navigator component.
You could render the first screen via
Navigator.js
export class Navigator extends React.Component {
  render() {
    const CurrentScene = this.props.children[0].props.component;
    return <CurrentScene />;
  }
}
which should now show the green Screen1 again.
This works, but accessing everything via
this.props.children won't work very well
going forward. We're going to need some internal state.
First, we'll store a stack array which will
track the current stack of rendered screens. It should default
to the first child of Navigator. We're also
going to create an easier to use
sceneConfig object that will allow us to access
all of the data we need quickly when pushing a new screen onto
the stack.
First we'll create a
buildSceneConfig function that accepts the
Navigator children as an argument.
Navigator.js
const buildSceneConfig = (children = []) => {
  const config = {};

  children.forEach(child => {
    config[child.props.name] = { key: child.props.name, component: child.props.component };
  });

  return config;
};
Inside of this function we'll populate an object that
represents our sceneConfig. This results in the
following data.
{
  Scene1: {
    key: 'Scene1',
    component: Scene1,
  },
  Scene2: {
    key: 'Scene2',
    component: Scene2,
  },
  Scene2: {
    key: 'Scene2',
    component: Scene2,
  },
}
We can then use this function in the
constructor of the
Navigator component and store the result in
state. We can also populate our stack with the
first screen.
Navigator.js
export class Navigator extends React.Component {
  constructor(props) {
    super(props);

    const sceneConfig = buildSceneConfig(props.children);
    const initialSceneName = props.children[0].props.name;

    this.state = {
      sceneConfig,
      stack: [sceneConfig[initialSceneName]],
    };
  }

  // ...
}
We can then use this.state.stack to render our
screen.
Navigator.js
export class Navigator extends React.Component {
  constructor(props) {
    super(props);

    const sceneConfig = buildSceneConfig(props.children);
    const initialSceneName = props.children[0].props.name;

    this.state = {
      sceneConfig,
      stack: [sceneConfig[initialSceneName]],
    };
  }

  render() {
    const CurrentScene = this.state.stack[0].component;
    return <CurrentScene />;
  }
}
Push Action
If you were to press "Screen 2" at this point the
app will error with
Cannot read property 'push' of undefined.
That's because we aren't yet passing a
navigator prop down to the scene. In this
navigator prop we'll pass the push action. Let's
write that push handler now.
Navigator.js
export class Navigator extends React.Component {
  constructor(props) { ... }

  handlePush = (sceneName) => {
    this.setState(state => ({
      ...state,
      stack: [...state.stack, state.sceneConfig[sceneName]],
    }));
  }

  render() { ... }
}
All we're doing here is accepting a
sceneName, which should correspond to a
name prop given to one of our
Route components and then finding the
corresponding scene config for that route and adding it to the
stack.
We then need to make the push function available
to the current scene.
Navigator.js
export class Navigator extends React.Component {
  constructor(props) { ... }

  handlePush = (sceneName) => {
    this.setState(state => ({
      ...state,
      stack: [...state.stack, state.sceneConfig[sceneName]],
    }));
  }

  render() {
    const CurrentScene = this.state.stack[0].component;
    return <CurrentScene navigator={{ push: this.handlePush }} />;
  }
}
If you press "Screen 2" now no error occurs! But also nothing changes, despite the state change. Let's fix that.
To do so we'll need to loop over
this.state.stack and render the screens
(we'll take care of styling later).
First you'll need to import some components from React Native.
Navigator.js
import { View, StyleSheet } from 'react-native';
We'll then loop over this.state.stack and
render each scene. We'll also set up some styling for the
container view.
Navigator.js
export class Navigator extends React.Component {
  // ...

  render() {
    return (
      <View style={styles.container}>
        {this.state.stack.map((scene, index) => {
          const CurrentScene = scene.component;
          return (
            <CurrentScene
              key={scene.key}
              navigator={{ push: this.handlePush }}
            />
          );
        })}
      </View>
    )
  }
}

const styles = StyleSheet.create({
  container: {
    flex: 1,
    flexDirection: 'row',
  },
});
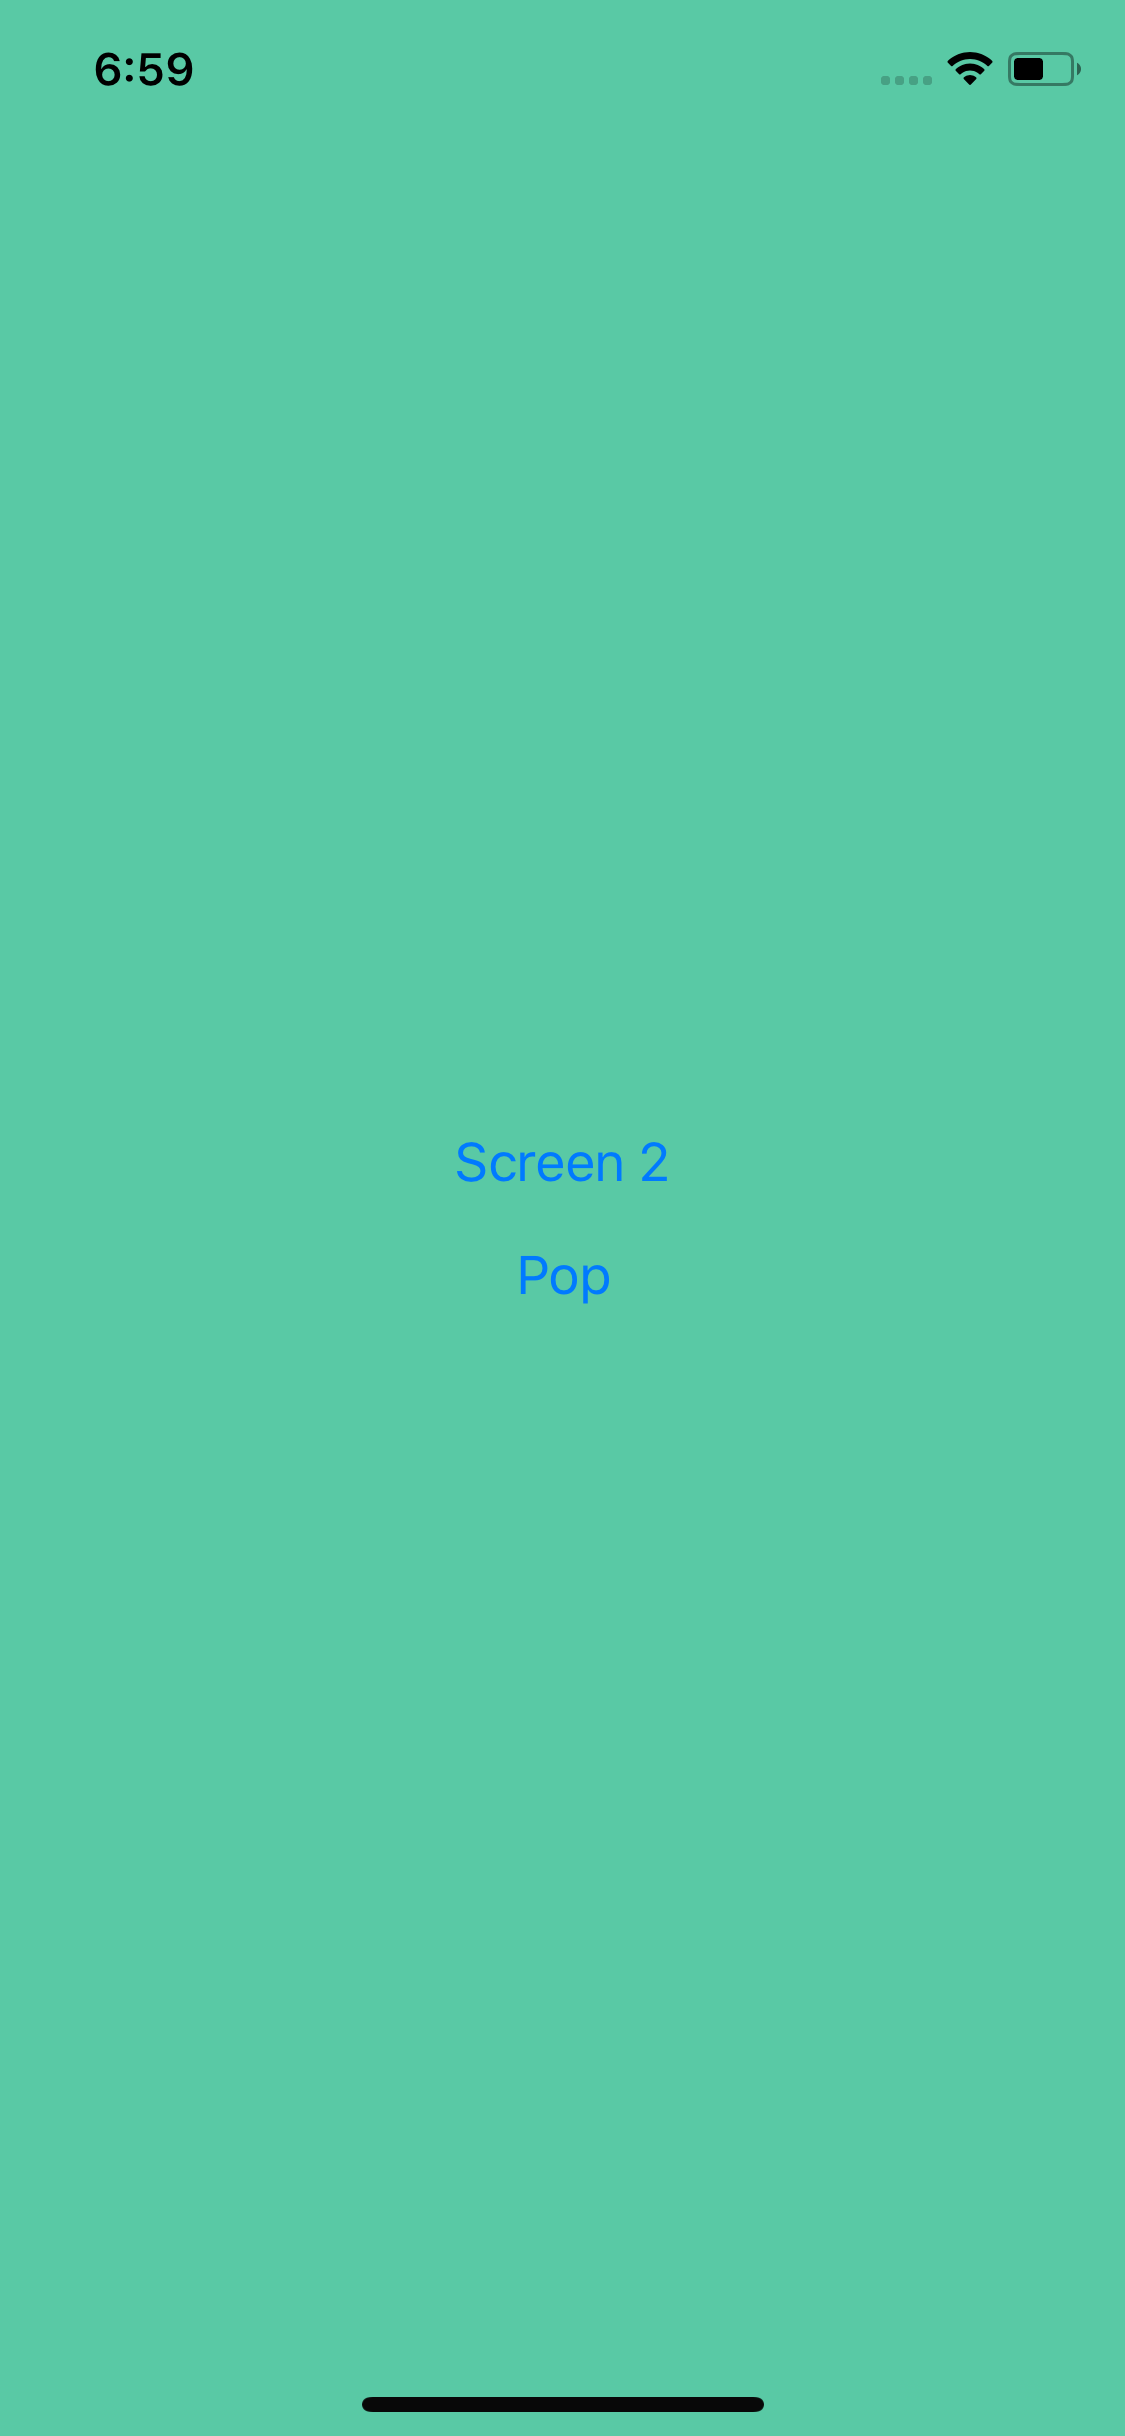
When you press a screen name you should now see something like this.
Pop Action
Before we fix the styling, let's add a pop action.
Navigator.js
export class Navigator extends React.Component {
  // ...

  handlePop = () => {
    this.setState(state => {
      const { stack } = state;
      if (stack.length > 1) {
        return {
          stack: stack.slice(0, stack.length - 1),
        };
      }

      return state;
    });
  }

  render() {
    return (
      <View style={styles.container}>
        {this.state.stack.map((scene, index) => {
          const CurrentScene = scene.component;
          return (
            <CurrentScene,
              key={scene.key}
              navigator={{ push: this.handlePush, pop: this.handlePop }}
            />
          );
        })}
      </View>
    )
  }
}
In the handlePop function we're checking if
the stack has more than one screen and, if so, we remove the
last screen in that stack.
Make sure you pass the pop function down on the
navigator prop!
Styling
To ensure screens show up on top of each other we'll use
absolute positioning.
StyleSheet.absoluteFillObject is a nice short
hand option for this.
Navigator.js
export class Navigator extends React.Component {
  // ...

  render() {
    return (
      <View style={styles.container}>
        {this.state.stack.map((scene, index) => {
          const CurrentScene = scene.component;
          return (
            <View key={scene.key} style={styles.scene}>
              <CurrentScene
                navigator={{ push: this.handlePush, pop: this.handlePop }}
              />
            </View>
          );
        })}
      </View>
    )
  }
}

const styles = StyleSheet.create({
  // ...
  scene: {
    ...StyleSheet.absoluteFillObject,
    flex: 1,
  },
});
Notice that we're wrapping
CurrentScreen component in a
View component to apply the styles. We also need
a flex: 1 so the view takes up the entire screen.
Notice also that the key moved from
CurrentScene to the View.
Animation
Alright, final thing for this tutorial. The animation! We're going to do a right-to-left animation, as is typical on iOS.
First let's take care of a few modules we need to import.
Navigator.js
import { View, StyleSheet, Animated, Dimensions } from 'react-native';

const { width } = Dimensions.get('window');
We need Animated to manage animations efficiently
and Dimensions so we can get the width of the
screen.
We'll then intialize a new _animatedValue on
the component to drive the slide animation.
Navigator.js
export class Navigator extends React.Component {
  // ...

  _animatedValue = new Animated.Value(0);

  // ...
}
Now that the boilerplate is setup, let's add the right-to-left animation when you push a new screen onto the stack.
It's important to do this at the right time. The right
time in this case is after we've updated the
state. That means we'll start the animation in the
setState callback.
Navigator.js
export class Navigator extends React.Component {
  // ...

  handlePush = (sceneName) => {
    this.setState(state => ({
      ...state,
      stack: [...state.stack, state.sceneConfig[sceneName]],
    }), () => {
      this._animatedValue.setValue(width);
      Animated.timing(this._animatedValue, {
        toValue: 0,
        duration: 250,
        useNativeDriver: true,
      }).start();
    });
  }

  // ...
}
First we set the _animatedValue to the width of
the screen. That's what the starting offset will be. If
you wanted it offset to the left then it would be -width.
Once we set that value we actually do the animation. This
animation brings the offset to 0 or fully visible on the
screen. The duration I set is an arbitrary value.
Finally, notice that I'm using
useNativeDriver. This is an important thing to do
when working with Animations in React Native as it will
provide better performance of your animations and reduce the
likelihood of "jitter" in your animations.
Now that we're setting the values correctly we need to
apply them, which will happen in the
render function.
Navigator.js
export class Navigator extends React.Component {
  // ...

  render() {
    return (
      <View style={styles.container}>
        {this.state.stack.map((scene, index) => {
          const CurrentScene = scene.component;
          // Create an array of styles for the scene
          const sceneStyles = [styles.scene];

          // If we're on the last screen and there's more than one screen in the stack then animation makes sense.
          if (index === this.state.stack.length - 1 && index > 0) {
            sceneStyles.push({
              transform: [
                {
                  translateX: this._animatedValue,
                }
              ]
            });
          }

          // Convert the View to Animated.View
          return (
            <Animated.View key={scene.key} style={sceneStyles}>
              <CurrentScene
                navigator={{ push: this.handlePush, pop: this.handlePop }}
              />
            </Animated.View>
          );
        })}
      </View>
    )
  }
}
Okay, there's a bit going on here. First off we're
setting up a sceneStyles array for the containing
scene view as the styles can be different between screens.
We then determine whether a screen should be animated. An animation only makes sense when there is more than 1 screen in the stack. We also only want to apply the styles to the active/last screen.
We then use a transform style, where we target
the translateX value, to apply the
this._animatedValue value. When you use
useNativeDriver you're limited on which
values you can modify - transform props are one of them!
Finally, we moved from View to
Animated.View and passed the
sceneStyles to the style prop.
That leaves us with the following.
Woo! Progress. Now the pop action.
This time we want to run our animation before we update state because we only want to remove the screen from state after it's off screen. Make sense?
Navigator.js
export class Navigator extends React.Component {
  // ...

  handlePop = () => {
    Animated.timing(this._animatedValue, {
      toValue: width,
      duration: 250,
      useNativeDriver: true,
    }).start(() => {
      this._animatedValue.setValue(0);
      this.setState(state => {
        const { stack } = state;
        if (stack.length > 1) {
          return {
            stack: stack.slice(0, stack.length - 1),
          };
        }

        return state;
      });
    });
  }

  // ...
}
First we'll make our offset go to the screen width. Once
the animation is complete (which we know by the callback in
the .start function being called) we need to make
sure to reset our offset to 0 so that the new active screen is
fully visible.
Final Code
The final code for Navigator.js:
Navigator.js
import React from 'react';
import { View, StyleSheet, Animated, Dimensions } from 'react-native';

const { width } = Dimensions.get('window');

export const Route = () => null;

const buildSceneConfig = (children = []) => {
  const config = {};

  children.forEach(child => {
    config[child.props.name] = { key: child.props.name, component: child.props.component };
  });

  return config;
};

export class Navigator extends React.Component {
  constructor(props) {
    super(props);

    const sceneConfig = buildSceneConfig(props.children);
    const initialSceneName = props.children[0].props.name;

    this.state = {
      sceneConfig,
      stack: [sceneConfig[initialSceneName]],
    };
  }

  _animatedValue = new Animated.Value(0);

  handlePush = (sceneName) => {
    this.setState(state => ({
      ...state,
      stack: [...state.stack, state.sceneConfig[sceneName]],
    }), () => {
      this._animatedValue.setValue(width);
      Animated.timing(this._animatedValue, {
        toValue: 0,
        duration: 250,
        useNativeDriver: true,
      }).start();
    });
  }

  handlePop = () => {
    Animated.timing(this._animatedValue, {
      toValue: width,
      duration: 250,
      useNativeDriver: true,
    }).start(() => {
      this._animatedValue.setValue(0);
      this.setState(state => {
        const { stack } = state;
        if (stack.length > 1) {
          return {
            stack: stack.slice(0, stack.length - 1),
          };
        }

        return state;
      });
    });
  }

  render() {
    return (
      <View style={styles.container}>
        {this.state.stack.map((scene, index) => {
          const CurrentScene = scene.component;
          const sceneStyles = [styles.scene];

          if (index === this.state.stack.length - 1 && index > 0) {
            sceneStyles.push({
              transform: [
                {
                  translateX: this._animatedValue,
                }
              ]
            });
          }

          return (
            <Animated.View key={scene.key} style={sceneStyles}>
              <CurrentScene
                navigator={{ push: this.handlePush, pop: this.handlePop }}
              />
            </Animated.View>
          );
        })}
      </View>
    )
  }
}

const styles = StyleSheet.create({
  container: {
    flex: 1,
    flexDirection: 'row',
  },
  scene: {
    ...StyleSheet.absoluteFillObject,
    flex: 1,
  },
});

Additional Challenges
Looking to further work on this example? Here's a few additional things you can work on implementing to further your experience.
- Add an overlay/shadow on the previous screen to give the appearance that the screen is behind, like iOS does
-
Allow the consumer to set an initial screen via an
initialSceneNameprop rather than forcing it to be the first screen registered in theNavigatorcomponent. -
Set a
backgroundColorprop to allow the consumer to set the background color for any transparent components. - Allow the consumer to swap direction of animation for right-to-left languages
- Add a swipe back gesture (interested in learning this? Check out my blog post on how to do so!)
Thanks for reading and I hope you found this exercise valuable! Whenever I want to better understanding something, or just want a code challenge, I try to find something I use often and start rebuilding it from scratch. Not only can it help you better understand what's going on but it can also help you contribute back to the open source solution you typically use!
My name is Spencer Carli - I teach people to use React Native to make their product vision a reality through online tutorials and consulting. Looking for more tutorials? Checkout my courses, tutorials, or Youtube channel!
Learn React the right way
The up-to-date, in-depth, complete guide to React and friends.
Download the first chapter