
With the knowledge of flux and Redux, let's integrate Redux in our application and walk through connected applications.
Yesterday, we discussed (in light detail) the reason for the Flux pattern, what it is, the different options we have available to us, as well as introduced Redux.
Today, we are going to get back to code and on to adding Redux
in our app. The app we're building with it right now is
bare-bones simple, which will just show us the last time the
page fetched the current time. For simplicity for now, we
won't call out to a remote server, just using the
JavaScript Date object.
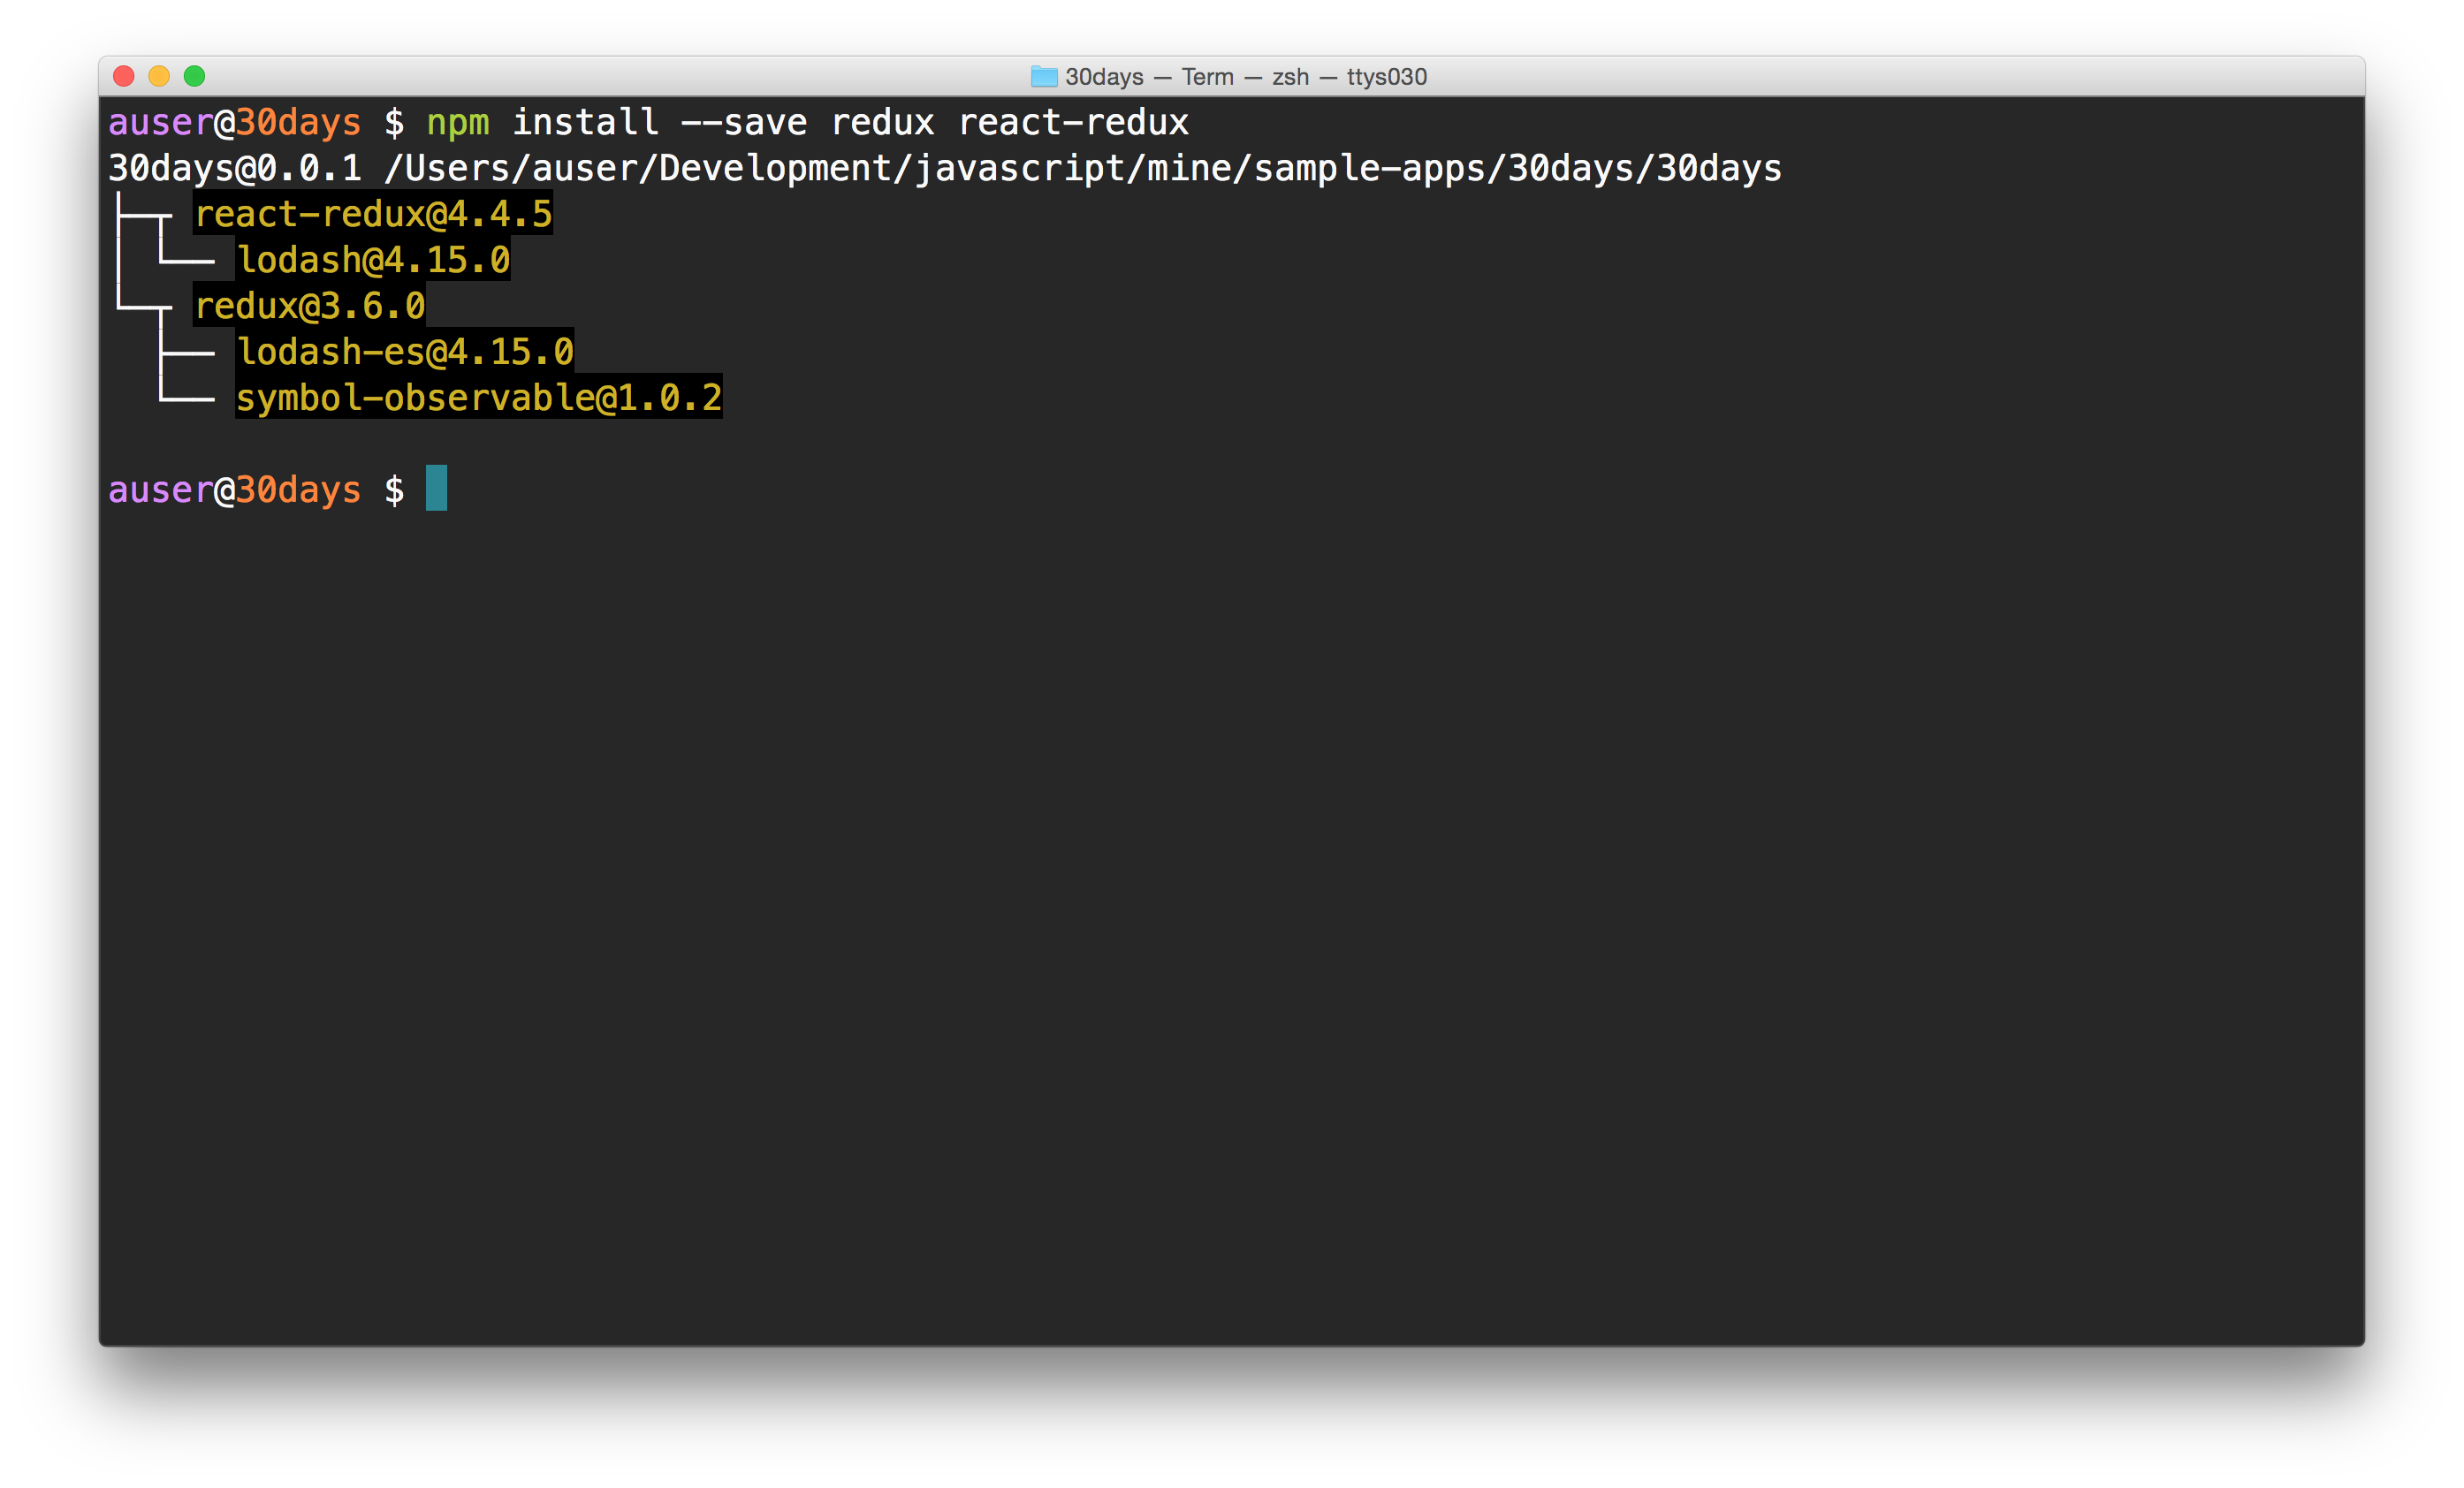
The first thing we'll have to do to use Redux is install
the library. We can use the npm package manager
to install redux. In the root directory of our
app we previously built, let's run the
npm install command to install redux:
npm install --save redux
We'll also need to install another package that
we'll use with redux, the react-redux that
will help us tie together react and
redux:
npm install --save react-redux
Configuration and setup
The next bit of work we need to do is to set up Redux inside of our app. We'll need to do the following to get it set up:
- Define reducers
- Create a store
- Create action creators
- Tie the store to our React views
- Profit
No promises on step 5, but it would be nice, eh?
Precursor
We'll talk terminology as we go, so take this setup discussion lightly (implementing is more important to get our fingers moving). We'll restructure our app just slightly (annoying, I know... but this is the last time) so we can create a wrapper component to provide data down through our app.
When we're complete, our app tree will have the following shape:
[Root] -> [App] -> [Router/Routes] -> [Component]
Without delaying any longer, let's move our
src/App.js into the
src/containers directory and we'll need to
update some of the paths from our imports at the same time.
We'll be using the react router material we discussed a
few days ago.
We'll include a few routes with the
<Switch /> statement to ensure only one
shows up at a time.
import React from "react";

import { BrowserRouter as Router, Route, Switch } from "react-router-dom";

// We'll load our views from the `src/views`
// directory
import Home from "./views/Home/Home";
import About from "./views/About/About";

const App = props => {
  return (
    <Router>
      <Switch>
        <Route path="/about" component={About} />
        <Route path="*" component={Home} />
      </Switch>
    </Router>
  );
};

export default App;
In addition, we'll need to create a new container
we'll call Root which will wrap our entire
<App /> component and make the store
available to the rest of the app. Let's create the
src/containers/Root.js file:
touch src/containers/Root.js
For the time being, we'll use a placeholder component here, but we'll replace this content as we talk about the store. For now, let's export something:
import React from "react";
import App from "./App";

const Root = props => {
  return <App />;
};

export default Root;
Finally, let's update the route that we render our app in
the src/index.js file to use our new
Root container instead of the App it
previously used.
import React from "react";
import ReactDOM from "react-dom";
import Root from "./containers/Root";
import "./index.css";

ReactDOM.render(<Root />, document.getElementById("root"));
Adding in Redux
Now with a solid app structure in place, we can start to add in Redux. The steps we'll take to tie in some Redux structure are generally all the same for most every application we'll build. We'll need to:
- Write a root reducer
- Write actionCreators
- Configure the store with the rootReducer, the store, and the app
- Connect the views to the actionCreators
We'll purposefully be keeping this high-level introduction a tad short, so hang tight if that's a mouthful, it will all make more sense shortly.
Let's setup the structure to allow us to add redux.
We'll do almost all of our work in a
src/redux directory. Let's create that
directory.
mkdir -p src/redux
touch src/redux/configureStore.js
touch src/redux/reducers.js
Let's start by creating our reducer first. Although it sounds complex, a reducer is actually pretty straight-forward with some experience. A reducer is literally only a function. It's sole responsibility is to return a representation of the next state.
In the Redux pattern, unlike flux we are only handling one global store for the entire application. This makes things much easier to deal with as there's a single place for the data of our application to live.
The root reducer function is responsible to return a representation of the current global state of the application. When we dispatch an action on the store, this reducer function will be called with the current state of the application and the action that causes the state to update.
Let's build our root reducer in a file at
src/redux/reducers.js.
// Initial (starting) state
export const initialState = {
  currentTime: new Date().toString()
};

// Our root reducer starts with the initial state
// and must return a representation of the next state
export const rootReducer = (state = initialState, action) => {
  return state;
};
In the function, we're defining the first argument to
start out as the initial state (the first time it runs, the
rootReducer is called with no arguments, so it
will always return the initialState on the first
run).
That's the rootReducer for now. As it stands right now,
the state always will be the same value as the initialState.
In our case, this means our data tree has a single key of
currentTime.
What is an action?
The second argument here is the action that gets dispatched from the store. We'll come back to what that means exactly shortly. For now, let's look at the action.
At the very minimum, an action must include a
type key. The type key can be any
value we want, but it must be present. For instance, in our
application, we'll occassionally dispatch an action that
we want to tell the store to get the new current
time. We might call this action a string value of
FETCH_NEW_TIME.
The action we might dispatch from our store to handle this update looks like:
{
  type: "FETCH_NEW_TIME"
}
As we'll by typing this string a lot and we want to avoid
a possible mispelling somewhere, it's common to create a
types.js file that exports the action types as
constants. Let's follow this convention and create a
src/redux/types.js file:
export const FETCH_NEW_TIME = "FETCH_NEW_TIME";
Instead of calling the action with the hard-coded string of
'FETCH_NEW_TIME', we'll reference it from the
types.js file:
import * as types from './types';

{
  type: types.FETCH_NEW_TIME,
}
When we want to send data along with our action, we can add
any keys we want to our action. We'll commonly see this
called payload, but it can be called anything.
It's a convention to call additional information the
payload.
Our FETCH_NEW_TIME action will send a payload
with the new current time. Since we want to send a
serializable value with our actions, we'll send
the string value of the new current time.
{
  type: types.FETCH_NEW_TIME,
  payload: new Date().toString() // Any serializable value
}
Back in our reducer, we can check for the action type and take
the appropriate steps to create the next state. In our case,
we'll just store the payload. If the
type of the action is
FETCH_NEW_TIME, we'll return the new
currentTime (from our action payload) and the rest of the
state (using the ES6 spread syntax):
export const rootReducer = (state = initialState, action) => {
  switch (action.type) {
    case types.FETCH_NEW_TIME:
      return { ...state, currentTime: action.payload };
    default:
      return state;
  }
};
Remember, the reducers must return a state, so in the default case, make sure to return the current state at the very minimum.
Keep it light
Since the reducer functions run everytime an action is dispatched, we want to make sure these functions are as simple and fast as possible. We don't want them to cause any side-effects or have much delay at all.
We'll handle our side-effects outside of the reducer in the action creators.
Before we look at action creators (and why we call them action creators), let's hook up our store to our application.
We'll be using the react-redux package to
connect our views to our redux store. Let's make sure to
install this package using npm:
npm install --save react-redux
Hooking up the store to the view
The react-redux package exports a component
called Provider. The
Provider component makes the store available to
all of our container components in our application without
needing for us to need to pass it in manually every time.
The Provider component expects a
store prop that it expects to be a valid redux
store, so we'll need to complete a
configureStore function before our app will run
without error. For now, let's hook up the
Provider component in our app. We'll do this
by updating our wrapper Root component we
previously created to use the Provider component.
import { Provider } from "react-redux";
// ...
const Root = props => {
  // ...

  return (
    <Provider store={store}>
      <App />
    </Provider>
  );
};
Notice we're sending in the store value to
our Provider component... but we haven't
created the store yet! Let's fix that now.
Configuring the store
In order to create a store, we'll use the new
src/redux/configureStore.js to export a function
which will be responsible for creating the store.
How do we create a store?
The redux package exports a function called
createStore which will create the actual store
for us, so let's open up the
src/redux/configureStore.js file and export a
function (we'll define shortly) called
configureStore() and import the
createStore helper:
import { createStore } from "redux";
// ...
export const configureStore = () => {
  // ...
};
// ...
export default configureStore;
We don't actually return anything in our store quite yet,
so let's actually create the redux store
using the createStore function we imported from
redux:
import { createStore } from "redux";

export const configureStore = () => {
  const store = createStore();

  return store;
};

export default configureStore;
Now let's update our Root.js file with an
instance of the store created by calling the
configureStore() function.
// ...
import configureStore from "../redux/configureStore";
const Root = props => {
  const store = configureStore();

  return (
    <Provider store={store}>
      <App />
    </Provider>
  );
};
If we load our page in the browser, we'll see we have one giant error and no page gets rendered.
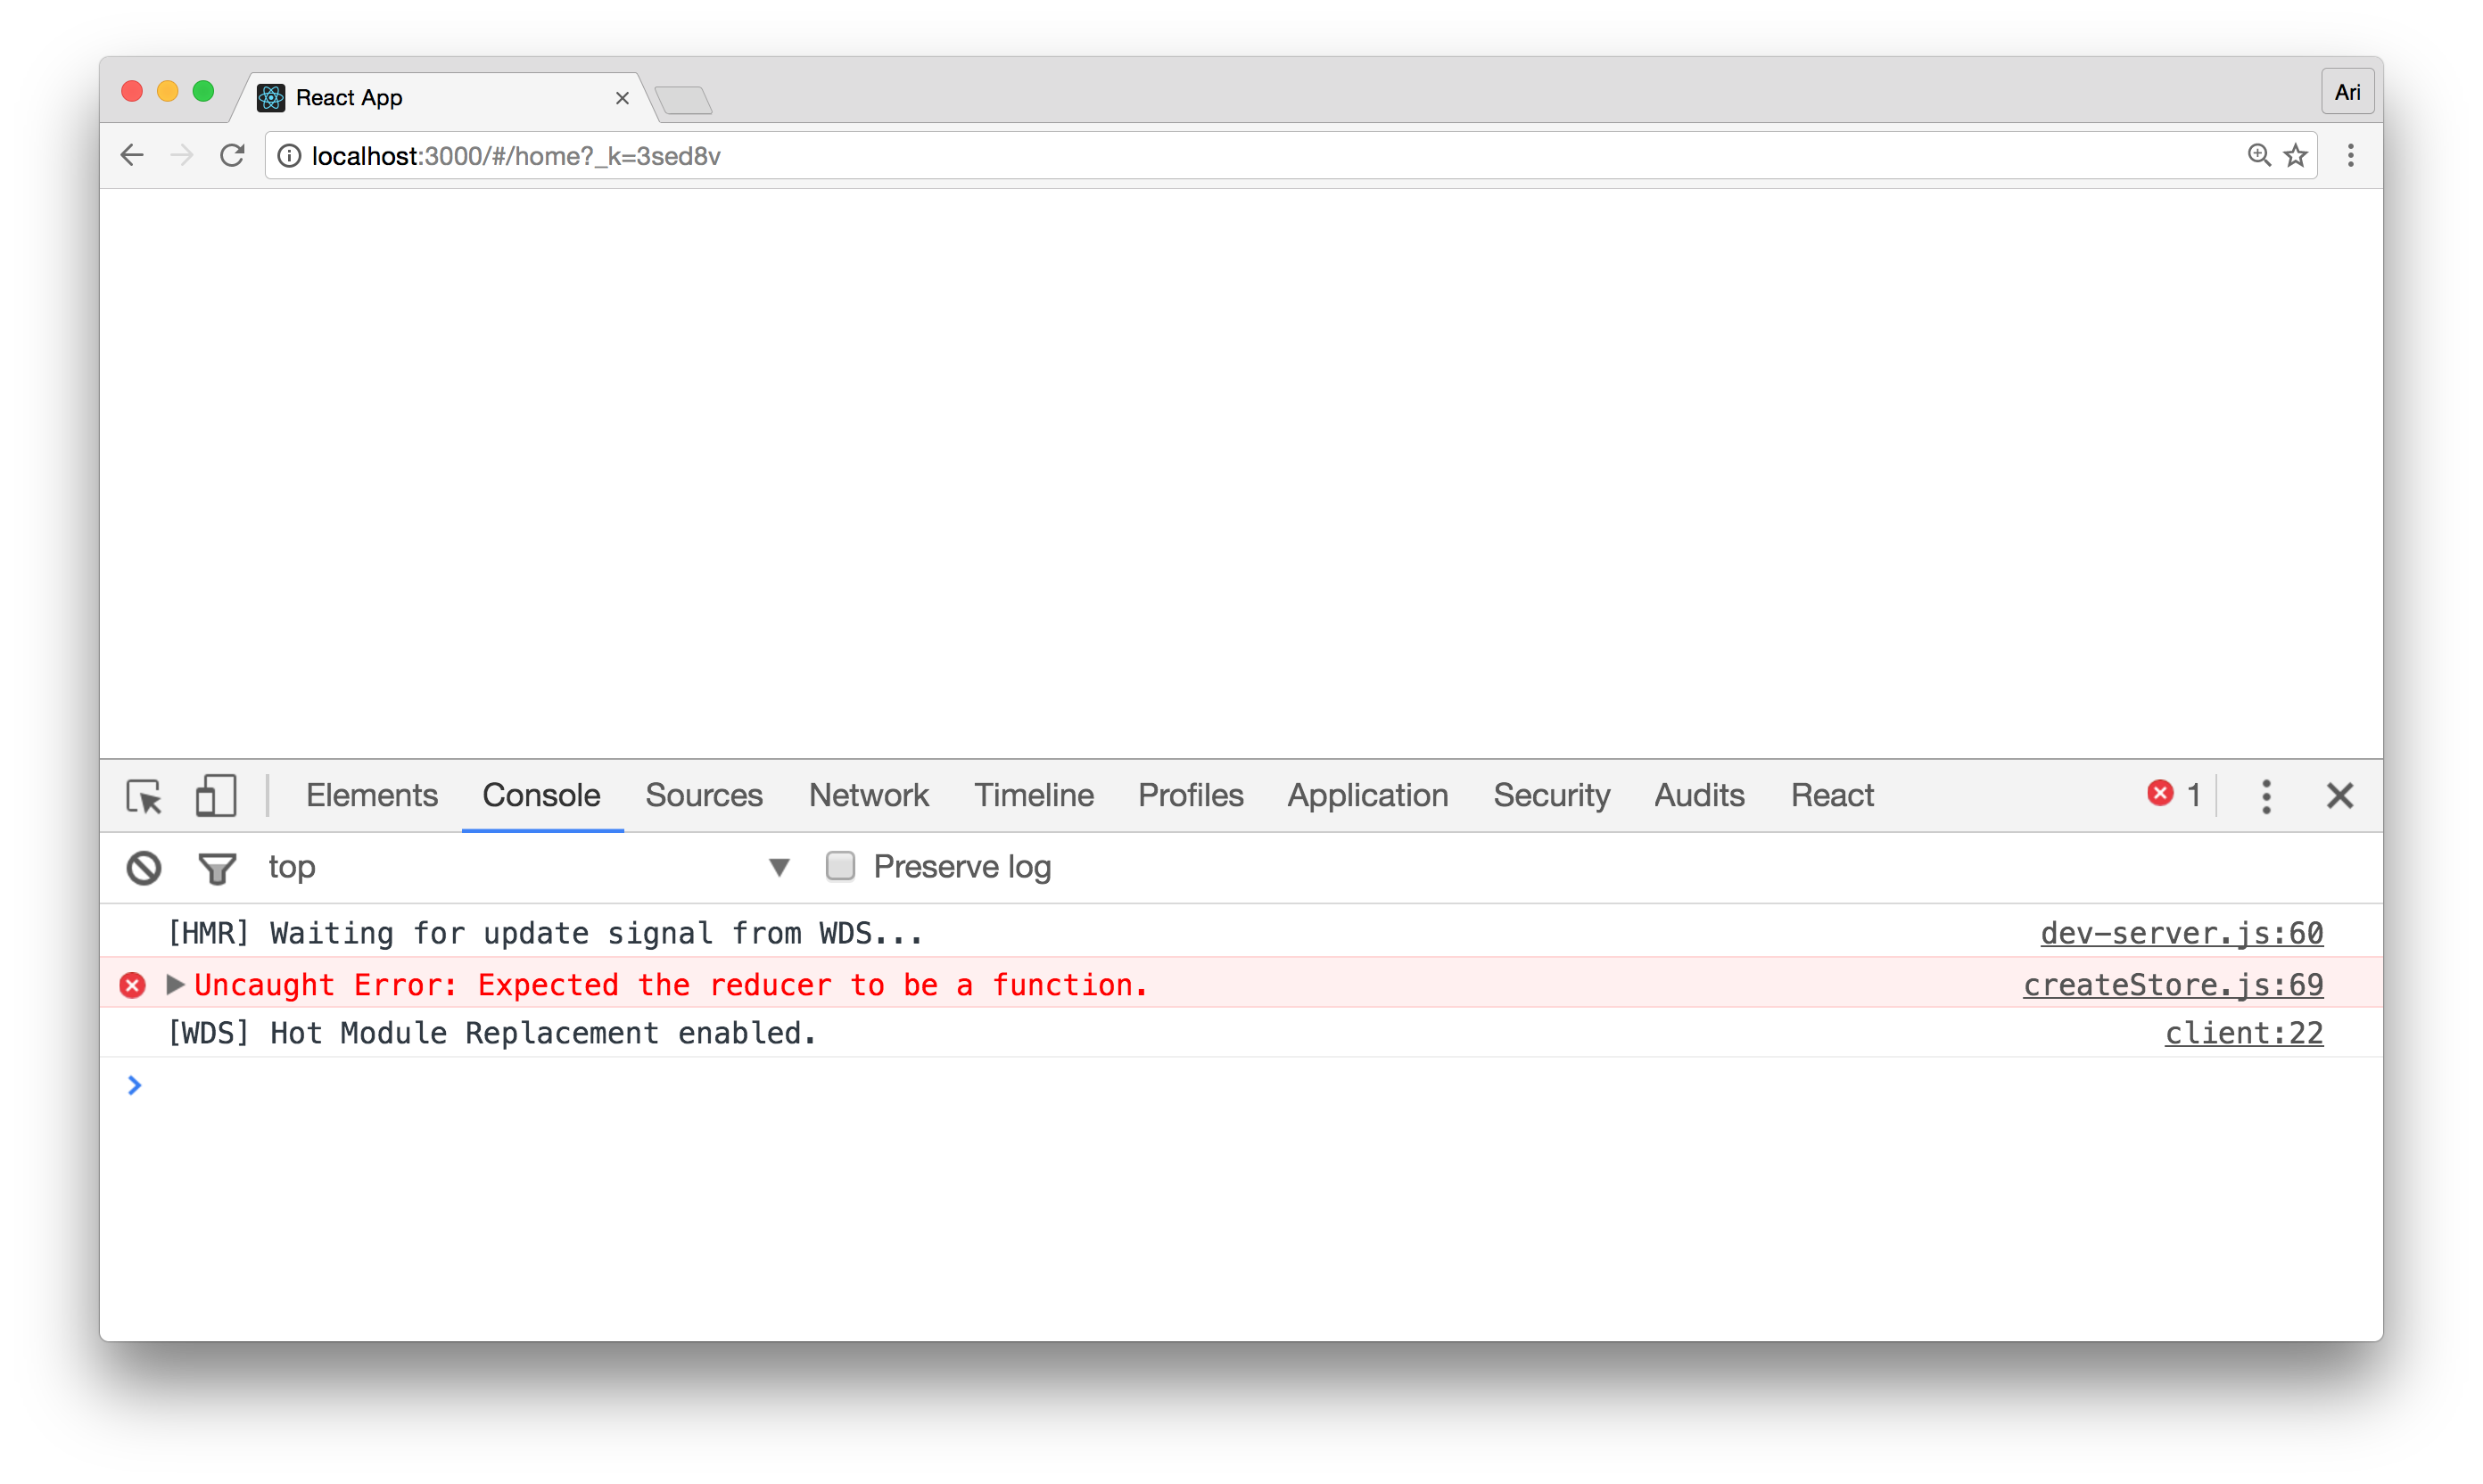
The error redux is giving us is telling us that we don't have a reducer inside our store. Without a reducer, it won't know what to do with actions or how to create the state, etc. In order to move beyond this error, we'll need to reference our rootReducer we created.
The createStore function expects us to pass the
rootReducer in as the first argument. It'll also expect
the initial state to be passed in as the second argument.
We'll import both of these values from the
reducers.js file we created.
import { rootReducer, initialState } from "./reducers";
// ...
export const configureStore = () => {
  const store = createStore(
    rootReducer, // root reducer
    initialState // our initialState
  );

  return store;
};
Connecting the view (cont'd)
Everything in our app is set-up to use Redux without
too much overhead. One more convenience that
redux offers is a way to bind pieces of
the state tree to different components using the
connect() function exported by the
react-redux package.
The connect() function returns a function that
expects the 1st argument to be that of a component. This is
often called a higher-order component.
The connect() function expects us to pass in at
least one argument to the function (but often we'll pass
in two). The first argument it expects is a function that will
get called with the state and expects an object
in return that connects data to the view. Let's see if we
can demystify this behavior in code.
We'll call this function the
mapStateToProps function. Since it's
responsibility is to map the state to an object which is
merged with the component's original props.
Let's create the Home view in
src/views/Home.js and use this
connect() function to bind the value of
currentTime in our state tree.
import { connect } from "react-redux";
// ...
const mapStateToProps = state => {
  return {
    currentTime: state.currentTime
  };
};
export default connect(mapStateToProps)(Home);
This connect() function
automatically passes any of the keys in the
function's first argument as props to the
Home component.
In our demo's case, the currentTime prop in
the Home component will be mapped to the state
tree key at currentTime. Let's update the
Home component to show the value in the
currentTime:
const Home = props => {
  return (
    <div className="home">
      <h1>Welcome home!</h1>
      <p>Current time: {props.currentTime}</p>
    </div>
  );
};
Although this demo isn't very interesting, it shows we
have our Redux app set up with our
data committed to the global state and our view
components mapping the data.
Tomorrow we're going to start triggering updates into our global state through action creators as well as work through combining multiple redux modules together.
Learn React the right way
The up-to-date, in-depth, complete guide to React and friends.
Download the first chapter