

Most, if not all of our applications will have multiple views in our single-page application. Let's dive right into creating multiple views for our applications using React Router.
We've made it through 16 days already! Pat yourself on the back... but not for too long... there is still a lot more.
Right now, our app is limited to a single page. It's pretty rare to find any complex application that shows a single view. For instance, an application might have a login view where a user can log in or a search results page that shows a user a list of their search results. These are two different views with two different page structures.
Let's see how we can change that with our app today.
We'll use the very popular
react-router
library for handling different links. In order to use the
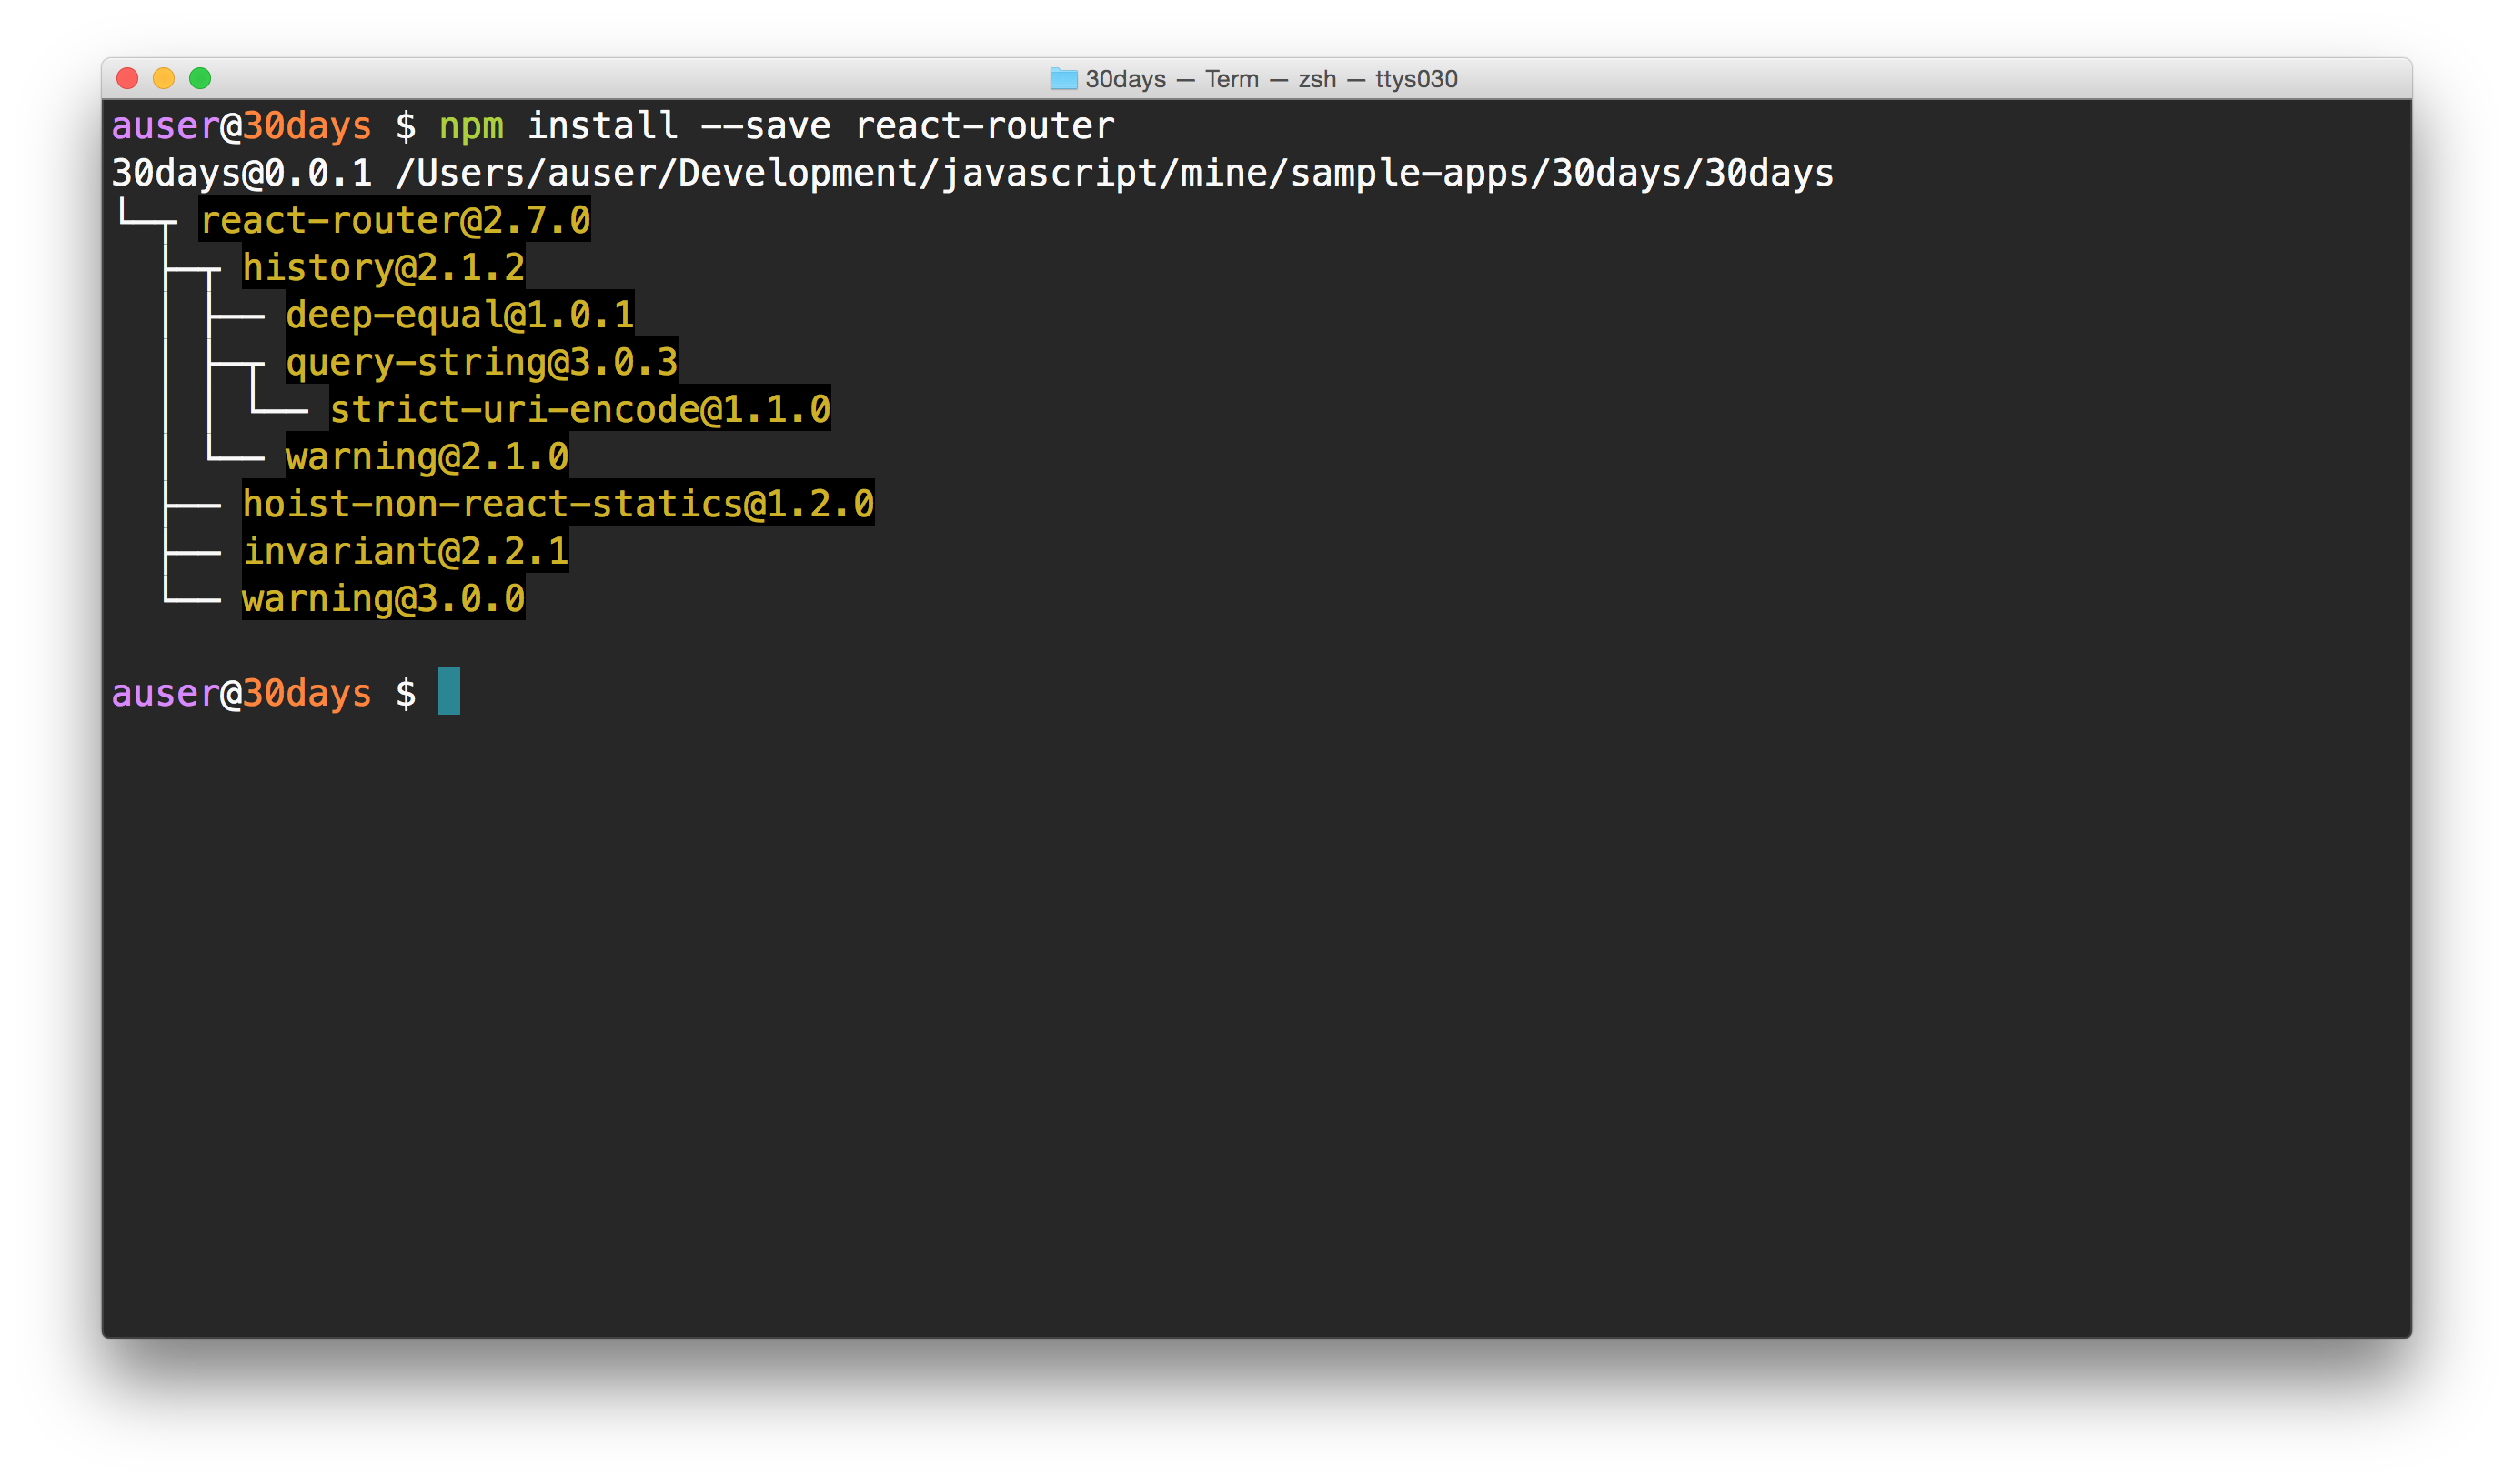
react-router library, we'll need to install
it using the npm package manager:
npm install --save react-router-dom
With react-router installed, we'll import a
few packages from the library and update our app architecture.
Before we make those updates, let's take a step back and
from a high level look at how and why we
architect our application this way.
Conceptually with React, we've seen how we can create tree structures using components and nested components. Using this perspective with a single page app with routes, we can think of the different parts of a page as children. Routing in a single page app from this perspective is the idea that we can take a part of a subtree and switch it out with another subtree. We can then dynamically switch out the different trees in the browser.
In other words, we'll define a React component that acts as a root component of the routable elements. We can then tell React to change a view, which can just swap out an entire React component for another one as though it's a completely different page rendered by a server.
We'll take our App component and define all
of the different routes we can make in our app in this
App component. We'll need to pull some
components from the react-router package. These
components we'll use to set up this structure are as
follows:
<BrowserRouter /> /
<Router />
This is the component we'll use to define the
root or the routing tree. The
<BrowserRouter /> component is the
component where React will replace it's children on a
per-route basis.
<Route />
We'll use the <Route /> component to
create a route available at a specific location available at a
url. The <Route /> component is mounted at
page URLs that match a particular route set up in the
route's configuration props.
One older, compatible way of handling client-side navigation
is to use the # (hash) mark denoting the
application endpoint. We'll use this method. We'll
need this object imported to tell the browser this is how we
want to handle our navigation.
From the app we created a few days ago's root directory,
let's update our src/App.js to import these
modules. We'll import the
BrowserRouter using a different name syntax via
ES6:
import React from "react";

import { BrowserRouter as Router, Route } from "react-router-dom";

export class App extends React.Component {
  render() {
    <Router>{/* routes will go here */}</Router>;
  }
}
Now let's define our first route. To define a route,
we'll use the <Route /> component
export from react-router and pass it a few props:
-
path- The path for the route to be active -
component- The component that defines the view of the route
Let's define the a route at the root path
/ with a stateless component that just displays
some static content:
const Home = () => (
  <div>
    <h1>Welcome home</h1>
  </div>
);
// ...
class App extends React.Component {
  render() {
    return (
      <Router>
        <Route path="/" component={Home} />
      </Router>
    );
  }
}
Loading this page in the browser, we can see we get our single
route at the root url. Not very exciting. Let's add a
second route that shows an about page at the
/about URL.
const Home = () => (
  <div>
    <h1>Welcome home</h1>
  </div>
);
// ...
class App extends React.Component {
  render() {
    return (
      <Router>
        <div>
          <Route path="/" component={Home} />
          <Route path="/about" component={About} />
        </div>
      </Router>
    );
  }
}
In our view we'll need to add a link (or an anchor tag --
<a />) to enable our users to travel freely
between the two different routes. However, using the
<a /> tag will tell the browser to treat
the route like it's a server-side route. Instead,
we'll need to use a different component (surprise)
called: <Link />.
The <Link /> component requires a prop
called to to point to the client-side route where
we want to render. Let's update our Home and
About components to use the Link:
import { BrowserRouter as Router, Route, Link } from "react-router-dom";

const Home = () => (
  <div>
    <h1>Welcome home</h1>
    <Link to="/about">Go to about</Link>
  </div>
);
const About = () => (
  <div>
    <h1>About</h1>
    <Link to="/">Go home</Link>
  </div>
);
// ...
Wait a minute... we don't quite want both routes
to show up... This happens because the react router will
render all content that matches the path (unless
otherwise specified). For this case, react router supplies us
with the Switch component.
The <Switch /> component will
only render the first matching route it finds.
Let's update our component to use the
Switch component. As react router will try to
render both components, we'll need to specify
that we only want an exact match on the root
component.
import { BrowserRouter as Router, Route, Link, Switch } from "react-router-dom";
// ...
const Home = () => (
  <div>
    <h1>Welcome home</h1>
    <Link to="/about">Go to about</Link>
  </div>
);
// ...
class App extends React.Component {
  render() {
    return (
      <Router>
        <Switch>
          <Route path="/about" component={About} />
          <Route path="/" component={Home} />
        </Switch>
      </Router>
    );
  }
}
Showing views
Although this is a limited introduction, we could not leave the discussion of dealing with react router without talking about the different ways we can get subcomponents to render.
We've already seen the simplest way possible, using the
component prop, however there is a more powerful
method using a prop called render. The
render prop is expected to be a function that
will be called with the match object along with
the location and route configuration.
The render prop allows us to render
whatever we want in a subroute, which includes
rendering other routes. Nifty, ey? Let's see this in
action:
const Home = () => (
  <div>
    <h1>Welcome home</h1>
    <Link to="/about">Go to about</Link>
  </div>
);
const About = ({ name }) => (
  <div>
    <h1>About {name}</h1>
  </div>
);
// ...
class App extends React.Component {
  render() {
    return (
      <Router>
        <Switch>
          <Route
            path="/about"
            render={renderProps => (
              <div>
                <Link to="/about/ari">Ari</Link>
                <Link to="/about/nate">Nate</Link>
                <Route
                  path="/about/:name"
                  render={renderProps => (
                    <div>
                      <About name={renderProps.match.params.name} />
                      <Link to="/">Go home</Link>
                    </div>
                  )}
                />
              </div>
            )}
          />
          <Route
            path="/"
            render={renderProps => (
              <div>
                Home is underneath me
                <Home {...this.props} {...renderProps} />
              </div>
            )}
          />
        </Switch>
      </Router>
    );
  }
}
Now we have multiple pages in our application. We've
looked at how we can render these routes through nested
components with just a few of the exports from
react-router.
react-router provides so much more functionality
that we don't have time to cover in our brisk intro to
routing. More information is available at:
Tomorrow, we're going to be starting integration with Redux. Here's where we start integrating more complex data handling.

Learn React the right way
The up-to-date, in-depth, complete guide to React and friends.
Download the first chapter