

Today, we're going to add a build process to store common build actions so we can easily develop and deploy our applications.
The React team noticed that there is a lot of configuration required (and the community helped bloat -- us included) to run a React app. Luckily, some smart folks in the React team/community got together and built/released an official generator app that makes it much easier to get up and running quickly.
Packaging
So far in this course, we've only been working with writing our components in a single script. Although it's great for simplicity, it can be difficult to share components amongst multiple developers. A single file is also pretty difficult to write complex applications.
Instead, we'll set up a build tool for our applications using a very popular packaging tool called create-react-app. The tool provides a great place to start out developing our applications without needing to spend too much time working on setting up our build tooling.
In order to use it, we'll need to start out by installing
it. We can use npm or yarn to
install create-react-app:
create-react-app
The create-react-app project is released through Facebook helps us get up and running quickly with a React app on our system with no custom configuring required on our part.
The package is released as a
Node
Package
and can be installed using npm.
A plug for
nvmandnThe Node homepage has simple documentation on how to install node, if you don't already have it installed on your system.
We recommend using the nvm or the n version management tools. These tools make it incredibly easy to install/use multiple versions of node on your system at any point.
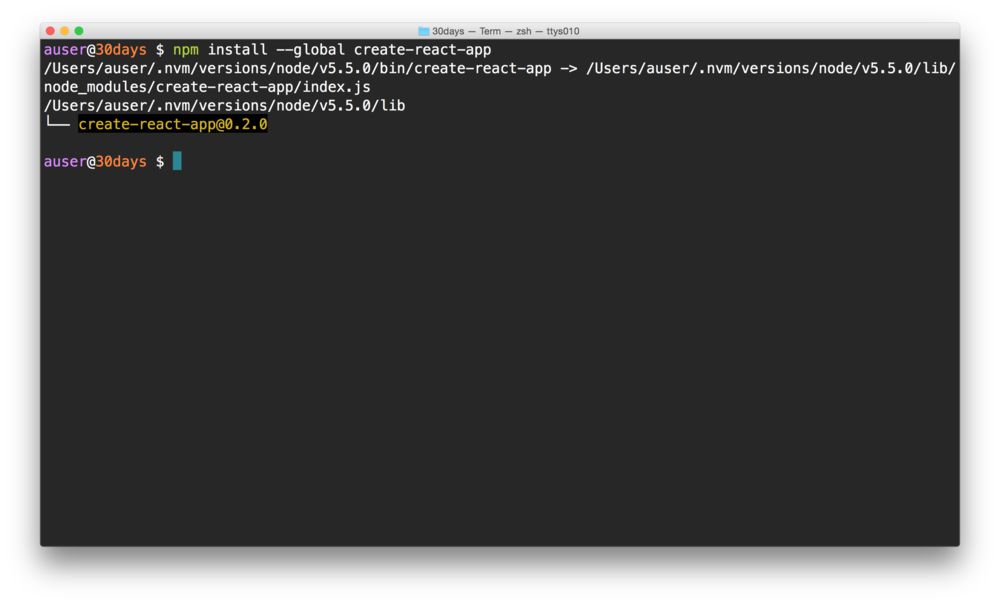
With node installed on our system, we can install
the create-react-app package:
npm install --global create-react-app
With create-react-app installed globally,
we'll be able to use the
create-react-app command anywhere in our
terminal.
Let's create a new app we'll call 30days using the
create-react-app command we just installed. Open
a Terminal window in a directory where you want to create your
app.
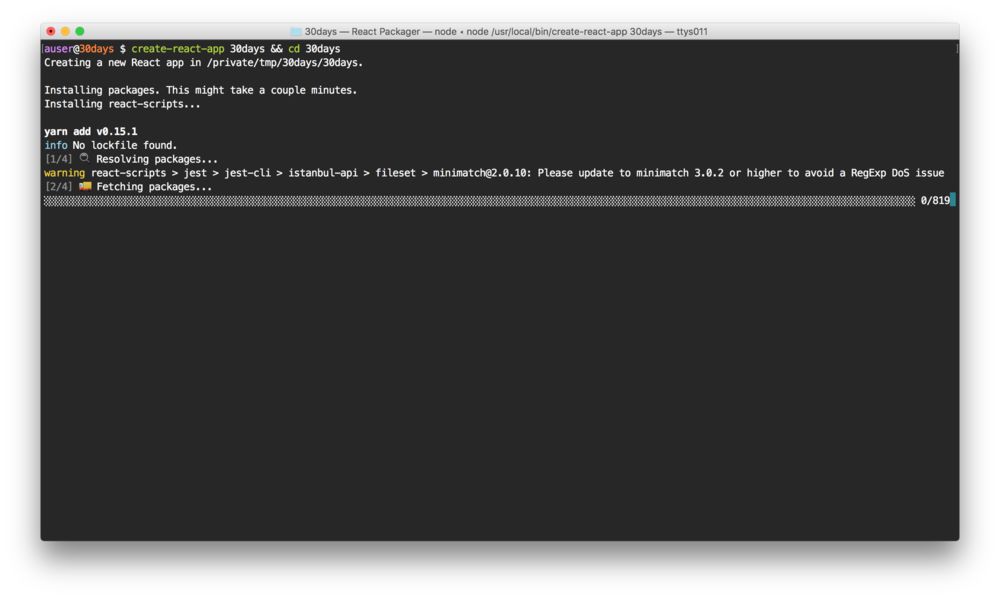
In terminal, we can create a new React application using the command and adding a name to the app we want to create.
create-react-app 30days && cd 30days
Let's start our app in the browser. The
create-react-app package comes with a few
built-in scripts it created for us (in the
package.json file). We can start editing
our app using the built-in webserver using the
npm start command:
npm start
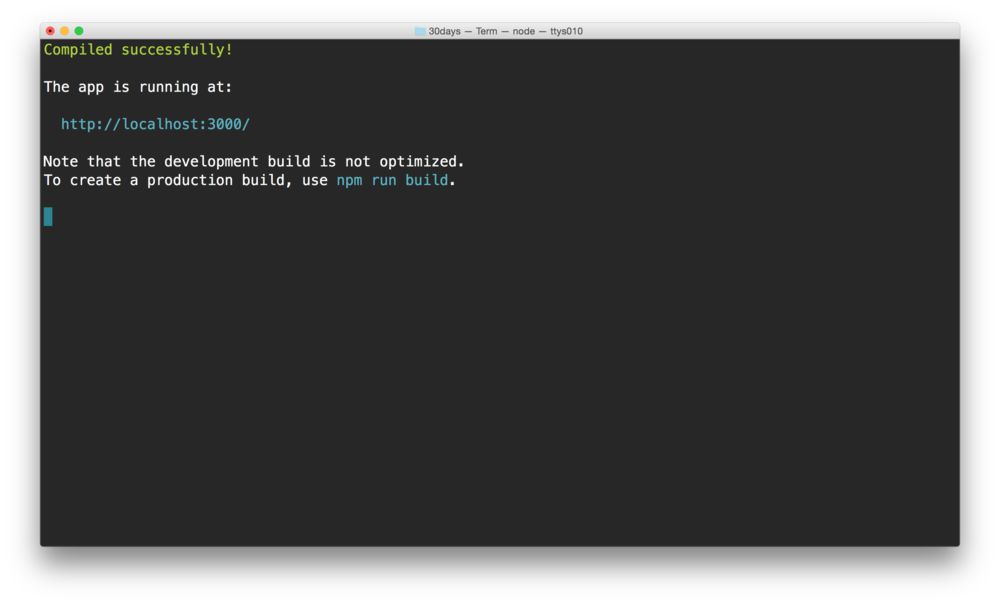
This command will open a window in Chrome to the default app it created for us running at the url: http://localhost:3000/
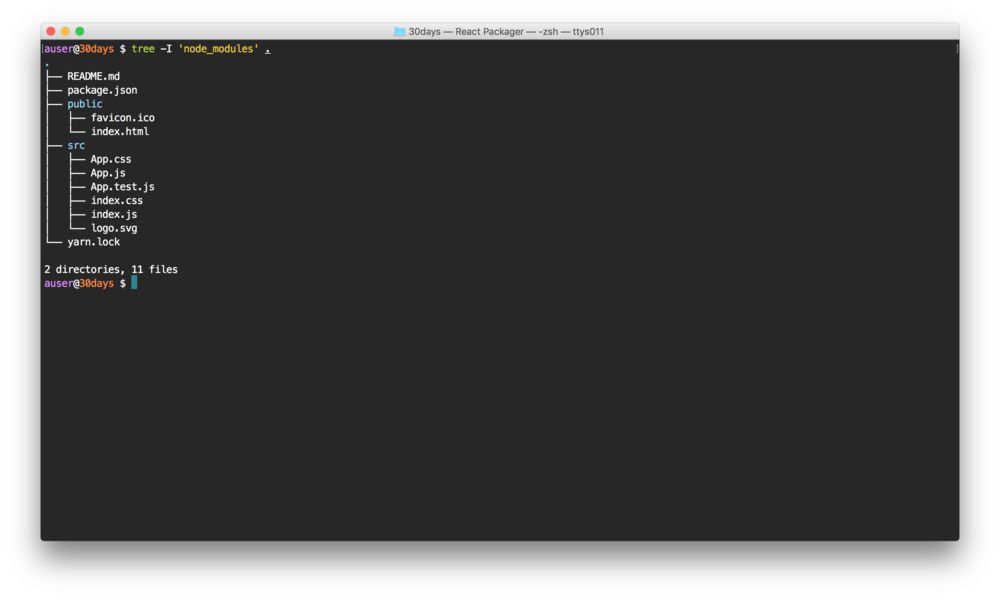
Let's edit the newly created app. Looking at the
directory structure it created, we'll see we have a basic
node app running with a public/index.html and a
few files in the src/ directory that comprise our
running app.
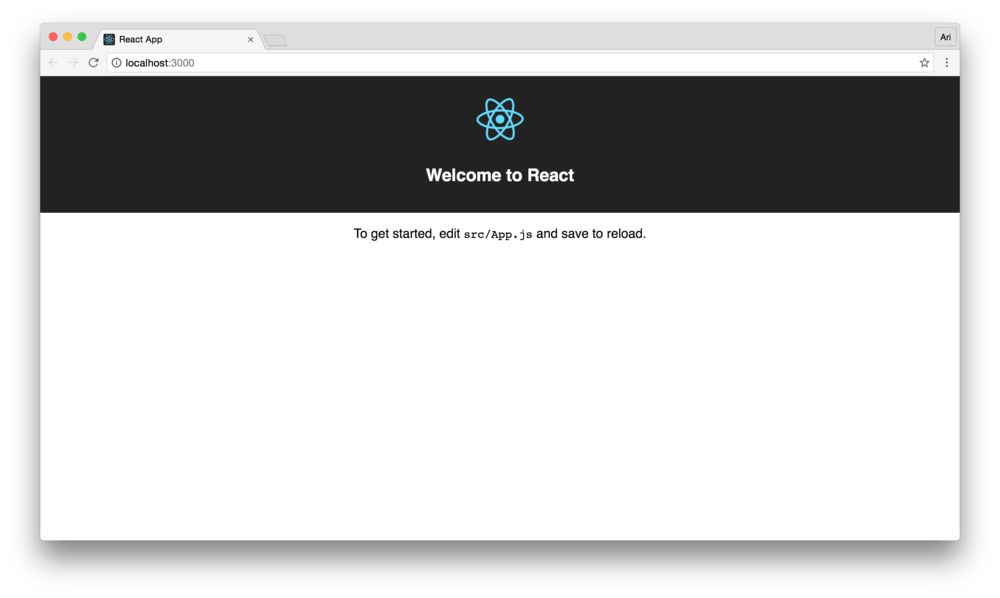
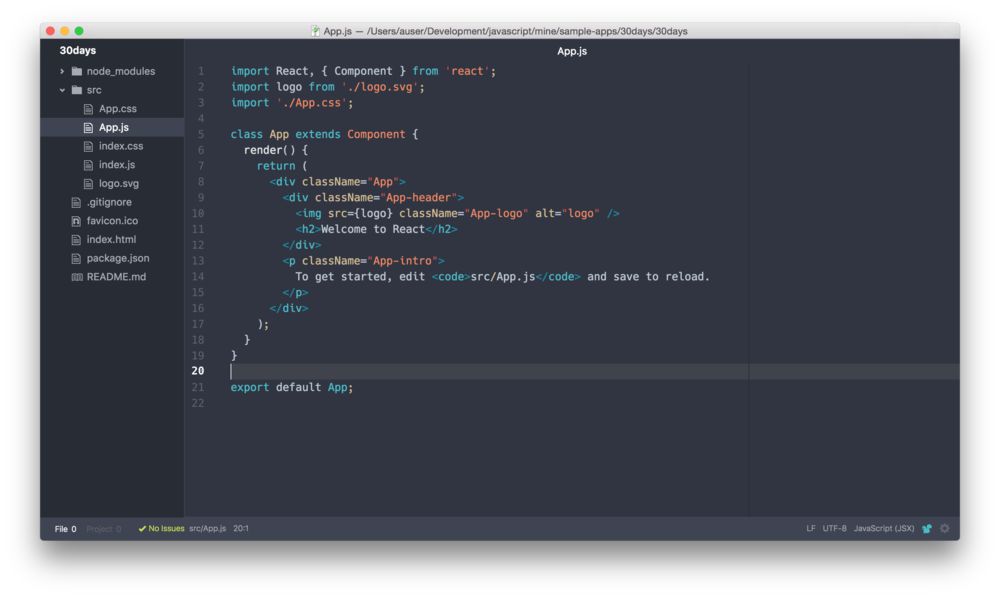
Let's open up the src/App.js file and
we'll see we have a very basic component that should all
look familiar. It has a simple render function which returns
the result we see in the Chrome window.
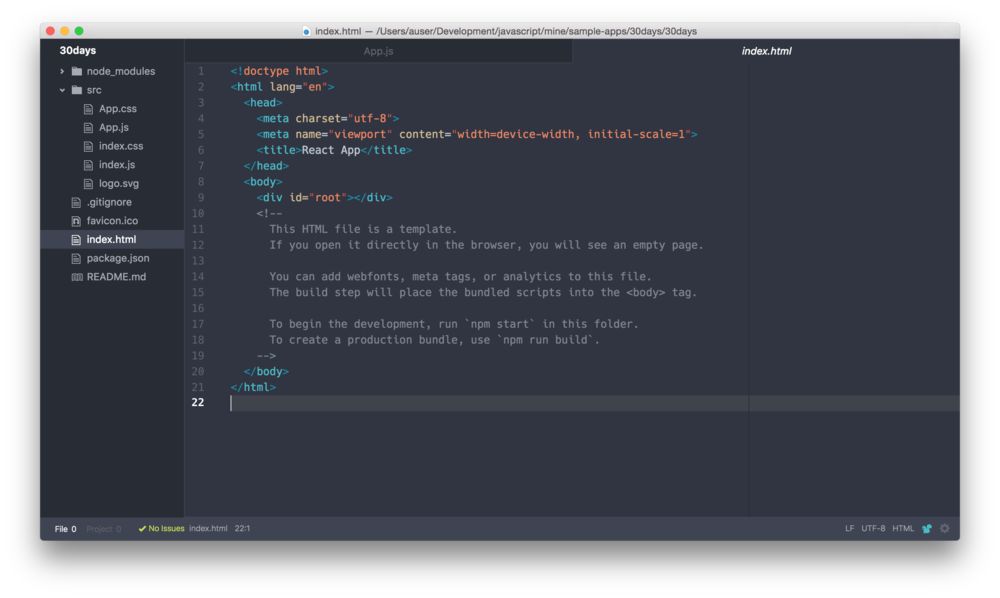
The index.html file has a single
<div /> node with the id of
#root, where the app itself will be mounted for
us automatically (this is handled in the
src/index.js file). Anytime we want to add
webfonts, style tags, etc. we can load them in the
index.html file.
Let's look at a few of the features
create-react-app enables for us.
We've used multiple components in the past. Let's
pull in the example we walked through on day-4 with a header
and content (slightly simplified -- changing the className
from notificationsFrame to App and
removing the inner component):
import React from "react";

class App extends React.Component {
  render() {
    return (
      <div className="App">
        <Header />
        <Content />
      </div>
    );
  }
}
We could define the Header and the
Content component in the same file, but as we
discussed, that becomes pretty cumbersome. Instead, let's
create a directory called components/ in the
src/ directory (src/components/) and
create two files called Header.js and
Content.js in there:
# in my-app/
mkdir src/components
touch src/components/{Header,Content}.js
Now, let's write the two components in their respective
file. First, the Header components in
src/components/Header.js:
import React from "react";

class Header extends React.Component {
  render() {
    return (
      <div id="header">
        <h1>Header</h1>
      </div>
    );
  }
}
And now let's write the Content component in
the src/components/Content.js file:
import React from "react";

class Content extends React.Component {
  render() {
    return <p className="App-intro">Content goes here</p>;
  }
}
By making a small update to these two component definitions,
we can then import them into our
App component (in src/App.js).
We'll use the export keyword before the
class definition:
Let's update the Header component slightly:
export class Header extends React.Component {
  // ...
}
and the Content component:
export class Content extends React.Component {
  // ...
}
Now we can import these two component from our
src/App.js file. Let's update our
App.js by adding these two
import statements:
import React from "react";

import { Header } from "./components/Header";
import { Content } from "./components/Content";

class App extends React.Component {
  render() {
    return (
      <div className="App">
        <Header />
        <Content />
      </div>
    );
  }
}
Here, we're using named exports to pull in the
two components from their respective files in
src/components/.
By convention, if we only have a single export from these
files, we can use the export default syntax so we
can remove the {} surrounding the named export.
Let's update each of these respective files to include an
extra line at the end to enable the default import:
export class Header extends React.Component {
  // ...
}

export default Header;
and the Content component:
export class Content extends React.Component {
  // ...
}

export default Content;
Now we can update our import of the two components like so:
import React from "react";

import Header from "./components/Header";
import Content from "./components/Content";

class App extends React.Component {
  render() {
    return (
      <div className="App">
        <Header />
        <Content />
      </div>
    );
  }
}
Using this knowledge, we can now also update our components by
importing the named Component class and simplify
our definition of the class file again. Let's take the
Content component in
src/components/Content.js:
import React, {Component} from 'react'; // This is the change

export class Content extends Component { // and this allows us
                                         // to not call React.Component
                                         // but instead use just
                                         // the Component class
  render() {
    return <p className="App-intro">Content goes here</p>;
  }
}

export default Content;
Shipping
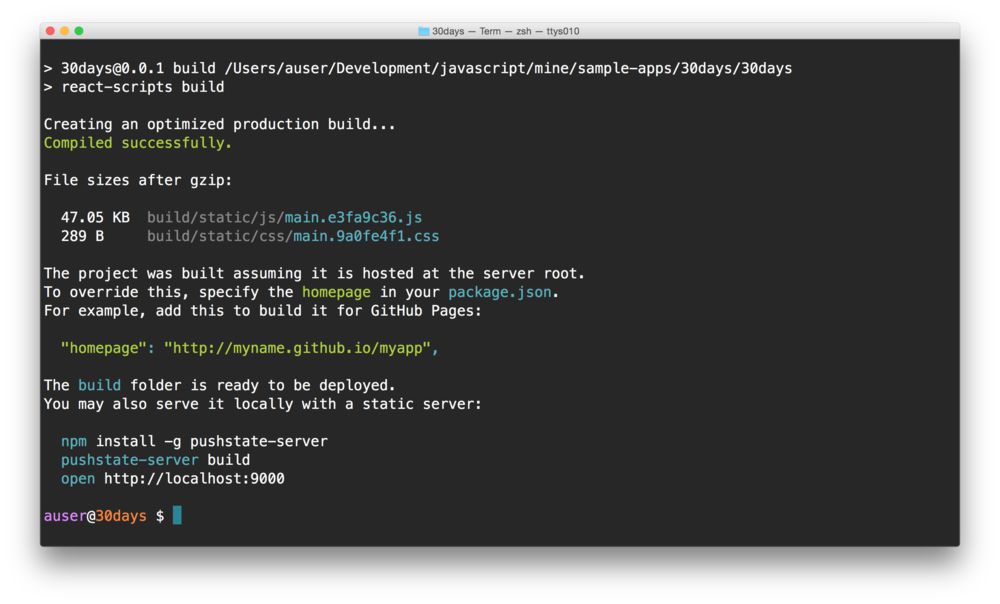
We'll get to deployment in a few weeks, but for the time being know that the generator created a build command so we can create minified, optimize versions of our app that we can upload to a server.
We can build our app using the
npm run build command in the root of our project:
npm run build
With that, we now have a live-reloading single-page app (SPA) ready for development. Tomorrow, we'll use this new app we built diving into rendering multiple components at run-time.
Learn React the right way
The up-to-date, in-depth, complete guide to React and friends.
Download the first chapter