
Rendering Pages
- stock-app (folder) - server.py - requirements.txt - Procfile (optional) - templates (folder) - stock_quote.html (your template)
Rendering Pages
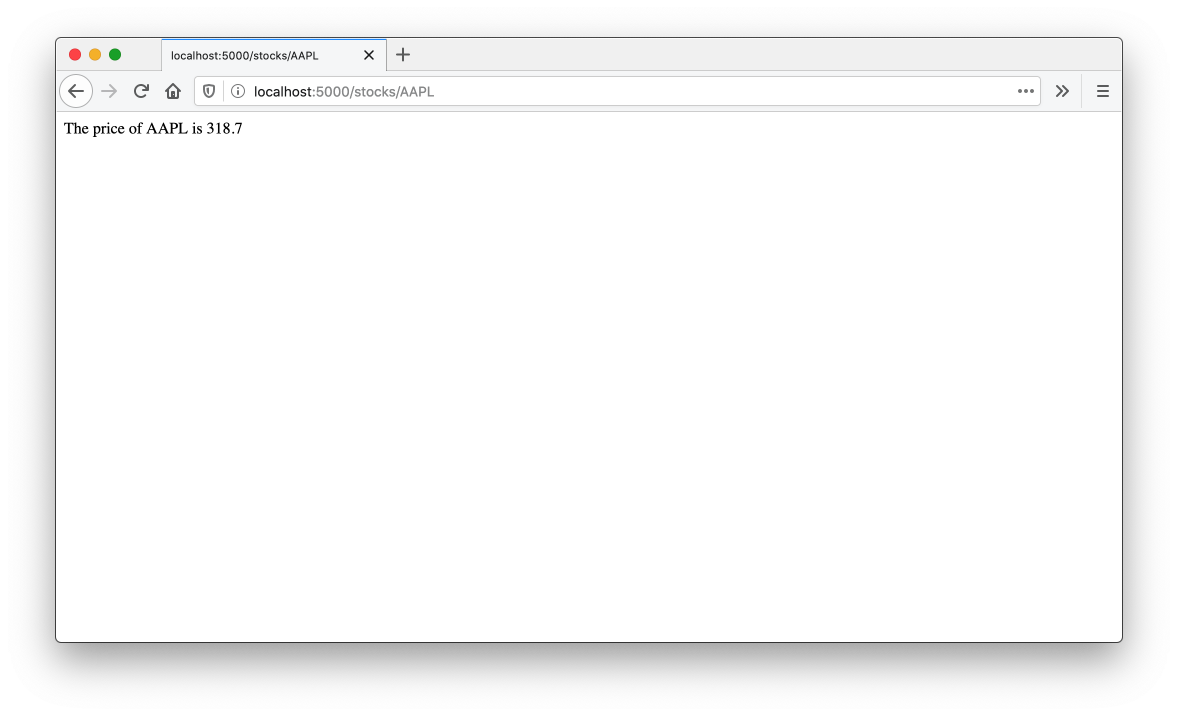
Right now our application looks a little plain, it's just some plain text with no real formatting.
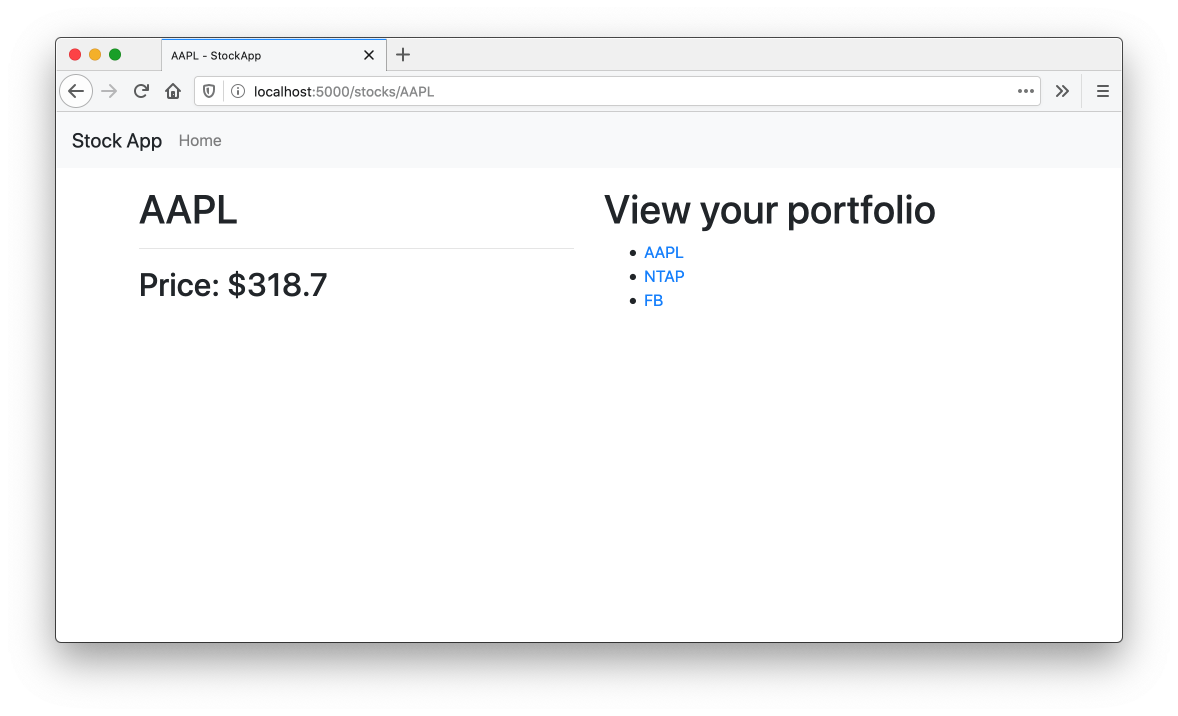
After we make our changes in this chapter, our application will look a lot better.
So far, we've directly controlled what the server responds with by formatting strings directly in our Python functions. If we continued with this approach to build out a full HTML web page, we would have to write a lot of code to assemble together snippets of HTML. Fortunately for us, Flask comes bundled with a templating engine called Jinja2 which allows us to write something that looks like HTML outside of the main server logic and tell our routes to use specific templates when rendering the page.
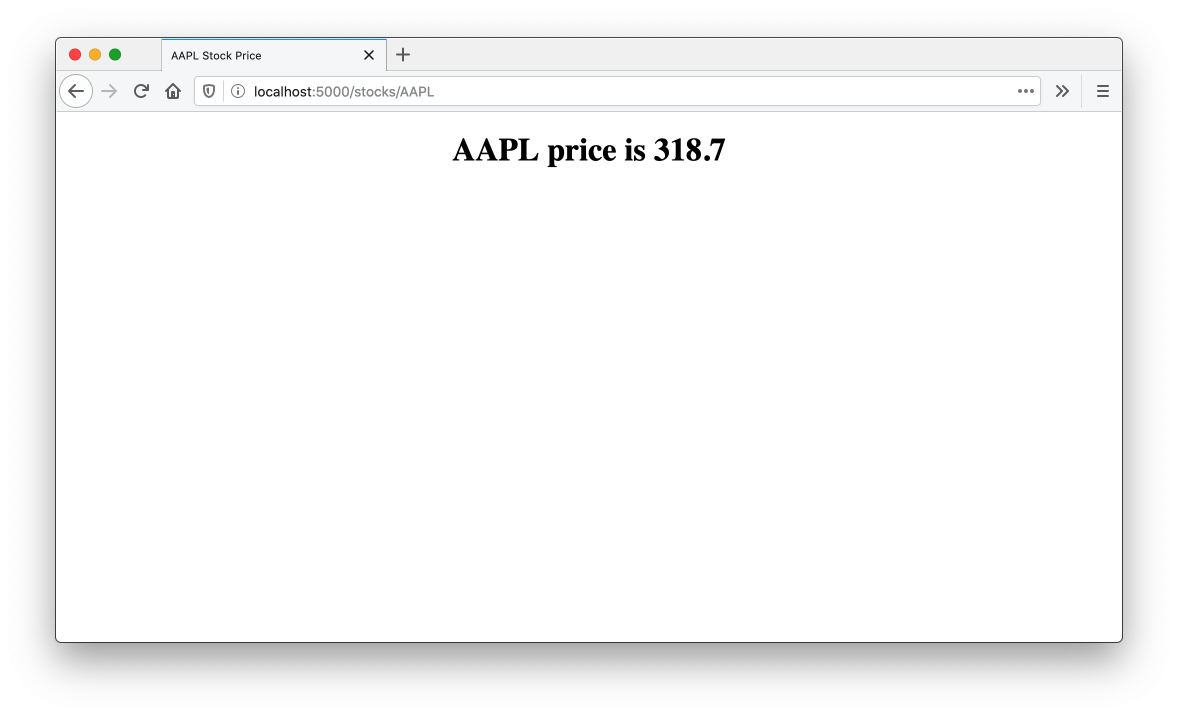
A simple example of a HTML page for our stock quote application might look something like this.
<html>
  <head>
    <title>AAPL Stock Price</title>
  </head>
  <body>
    <h1>
        The price of AAPL is $249.05
    </h1>
  </body>
</html>
We can take this HTML and turn into a template by using Jinja, we identify the places where we'd like to systematically replace parts of the template based on inputs or calculations from our application logic. In this case, there are three places we want to place content in, one in the HTML title tag for the the ticker and two inside of the h1 for the ticker and the price. In Jinja, we can denote these by giving the field a name and surrounding it with two curly braces on each side, which gives us the following template:
<!DOCTYPE html>
<html>
    <head>
        <title>{{ticker}} Stock Price</title>
    </head>
    <body>
        <h1 style="text-align: center;"> {{ticker}} price is {{stock_price}} </h1>
    </body>
</html>
There are three areas where data is being substituted, but Jinja will use the same value that is provided for
tickerin both locations that it is used when the template is rendered.
The convention within Flask applications is to store templates as a file under a folder called templates. If you save your template as stock_quote.html, your folder structure should look something like this:
stock-app (folder)
- server.py
- requirements.txt
Procfile (optional)
templates (folder)
- stock_quote.html (your template)
In the last chapter, we returned a string as the response to the request. Now that we have a template, we want to return the result of substituting the values we get from the Stock Quote API and the ticker into the template. To do that substitution we are going to use a function from Flask called render_template which takes in the name of a template and the values we'd like to use for the fields specified within the Jinja template file.
Inside of returning a string inside of the stock function in server.py, we're going to return the result of using render_template with the name of our template and pass in arguments for ticker and stock_price.
from flask import Flask, render_template

...

@app.route('/stocks/<string:ticker>')
def view_stock(ticker):
    stock_price = fetch_price(ticker)
    return render_template('stock_quote.html', ticker=ticker, stock_price=stock_price)
To run our Flask app, we can run FLASK_ENV=development FLASK_APP=server.py flask run within our virtual environment. Now we have some basic formatting.
Checkpoint: At this point, Your Flask server should look like this:
from flask import Flask, render_template
import requests

app = Flask(__name__)
API_URL = 'https://financialmodelingprep.com/api/v3/stock/real-time-price/{}'

def fetch_price(ticker):
    data = requests.get(API_URL.format(ticker)).json()
    return data["price"]

@app.route('/<ticker>')
def stock(ticker):
    stock_price = fetch_price(ticker)
    return render_template('stock_quote.html', ticker=ticker,
                           stock_price=stock_price)
Adding styles
If we want to add some CSS, we could add a reference to an externally hosted stylesheet in the head section of the template. In this case, we can start to pull in the CSS for Bootstrap, a popular CSS framework.
<!DOCTYPE html>
<html>
    <head>
        <title>{{ticker}} Stock Price</title>
        <meta name="viewport" content="width=device-width, initial-scale=1, shrink-to-fit=no">
        <link rel="stylesheet" href="https://stackpath.bootstrapcdn.com/bootstrap/4.3.1/css/bootstrap.min.css" crossorigin="anonymous">
    </head>
    <body>
        <h1> {{ticker}} price is {{stock_price}} </h1>
    </body>
</html>
We will go into more detail about how to write our own styles in later chapters.
Adding Multiple Pages
The other route in our Flask application is the home page, and we haven't added anything to it. What we could do for that page is instead of showing an individual stock quote, we can link to the respective pages for a select list of stocks we care about. As we think of the HTML structure for that page, it might look something like this
This page is a preview of Fullstack Flask: Build a Complete SaaS App with Flask